Hiking Sahale Arm Trail in Washington
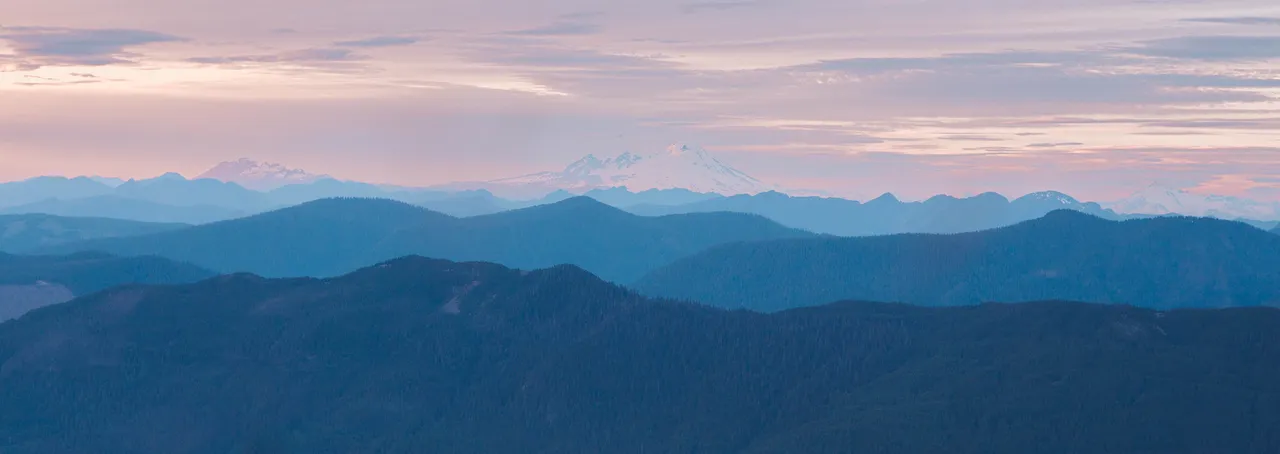
Sahale Arm is one of those hikes that earns every bit of the hype. Tucked deep in the North Cascades, it's a 13-mile out-and-back that climbs over 4,000 feet through old-growth forest, past waterfalls, and up onto an exposed alpine ridge with views that genuinely make you stop and just stare. If you've seen it on anyone's best Washington hikes list, believe the photos — it's that good.
Here's everything you need to know.
Getting There
We left Seattle at 5:23 in the morning. I know the exact time because I snapped a photo of the CarPlay screen — 123 miles, almost 3 hours of driving to Cascade River Road. It's one of those hikes where you really have to commit. You're heading north on I-5 past Everett and Burlington, then turning east and winding your way deep into the North Cascades on increasingly narrow roads.
We were meeting up with friends who had slept in their van at the trailhead the night before — honestly not a bad move if you want to skip the brutal alarm. For us, the early wake-up was worth it to get a morning start on the trail. We hit the trailhead around 8, gave ourselves time to get ready, and started hiking at 9 AM.
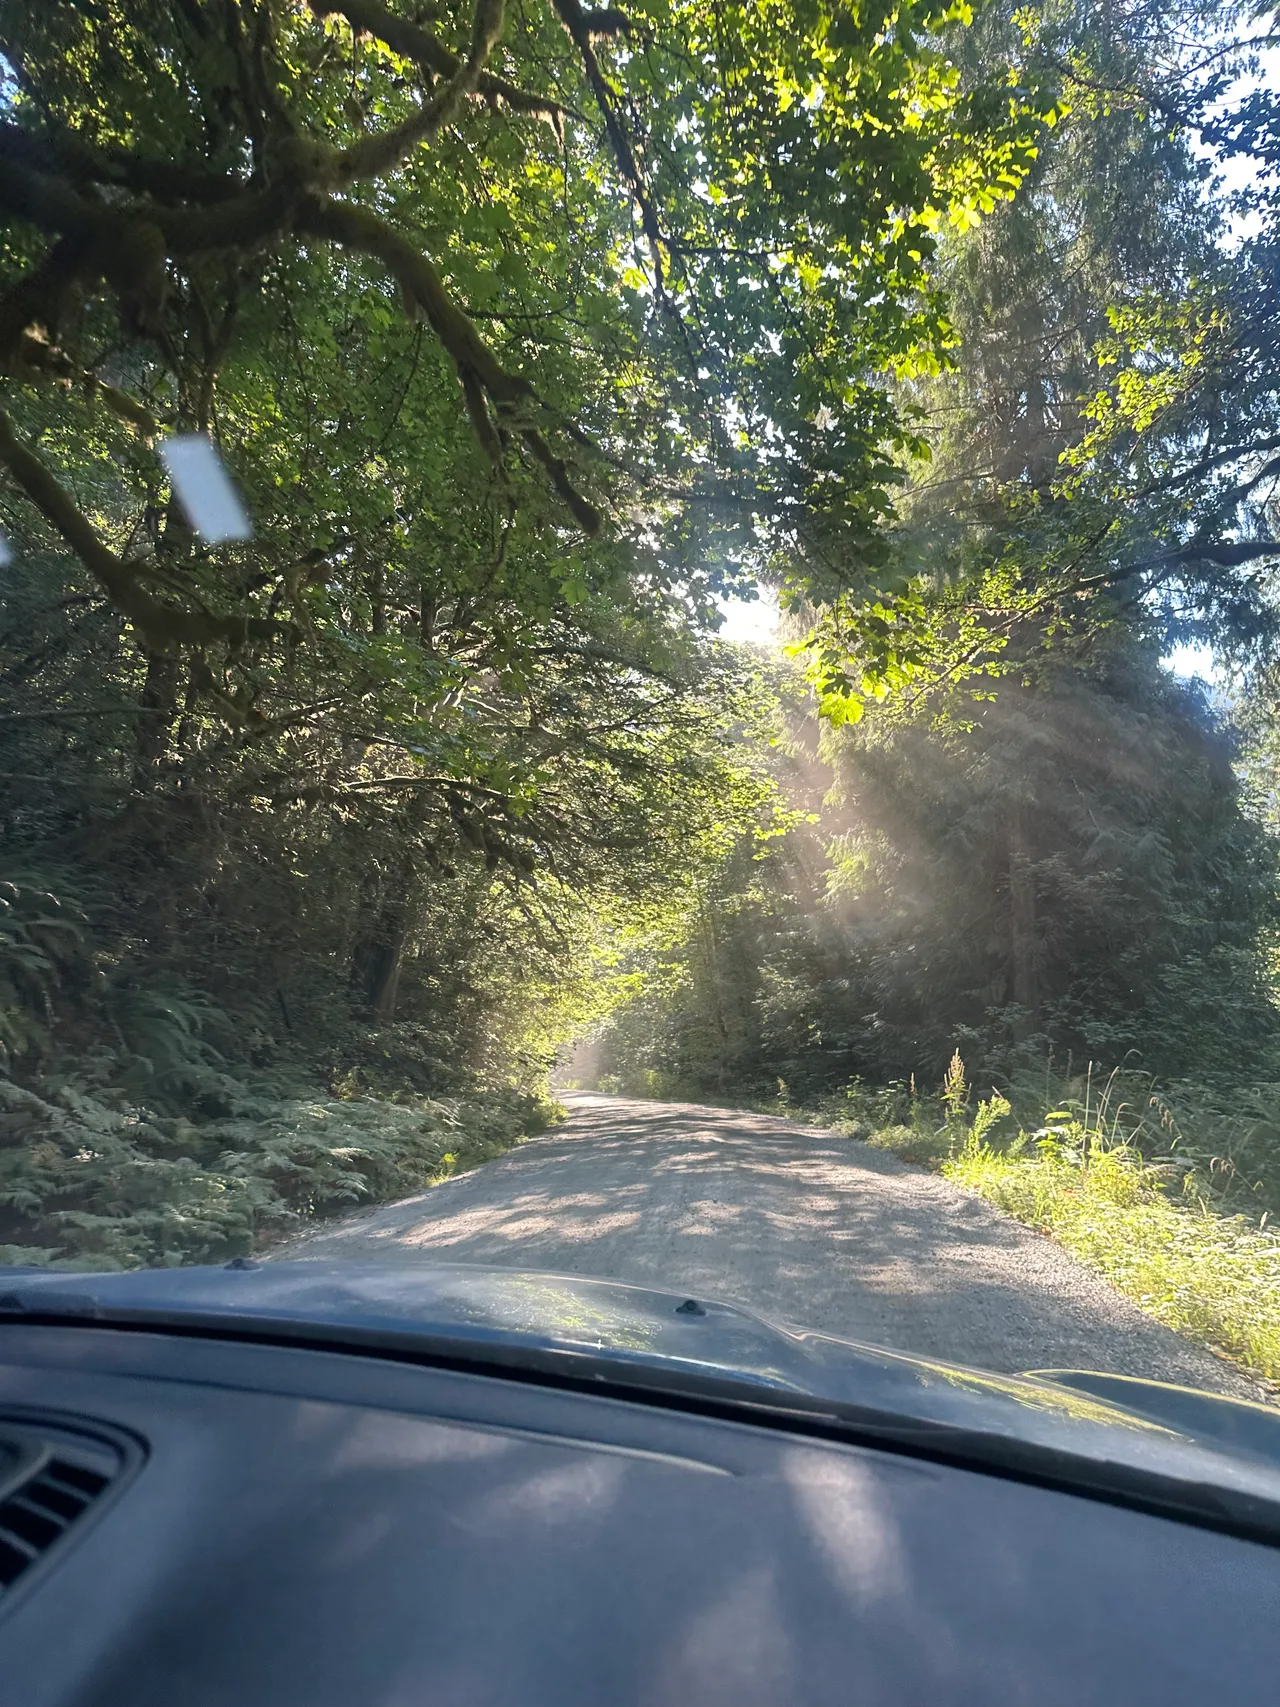
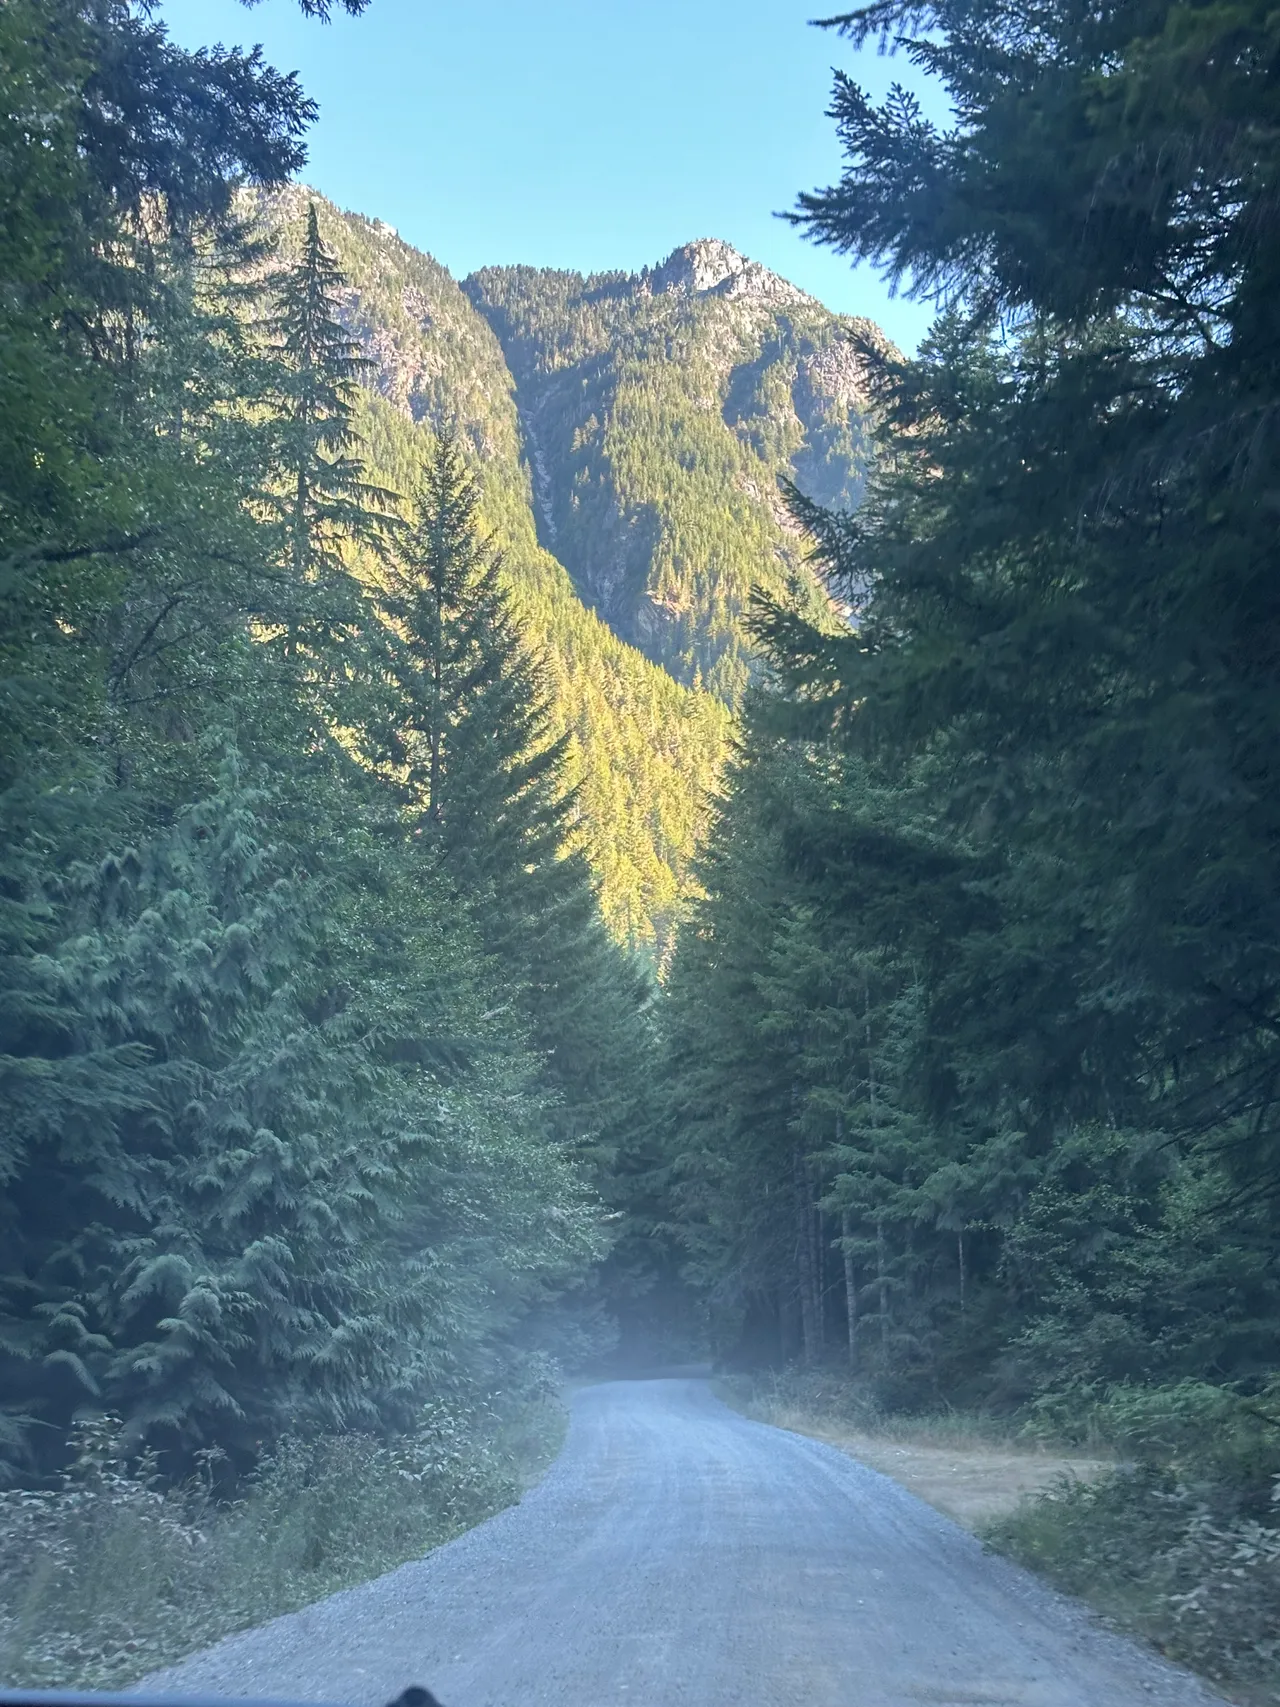
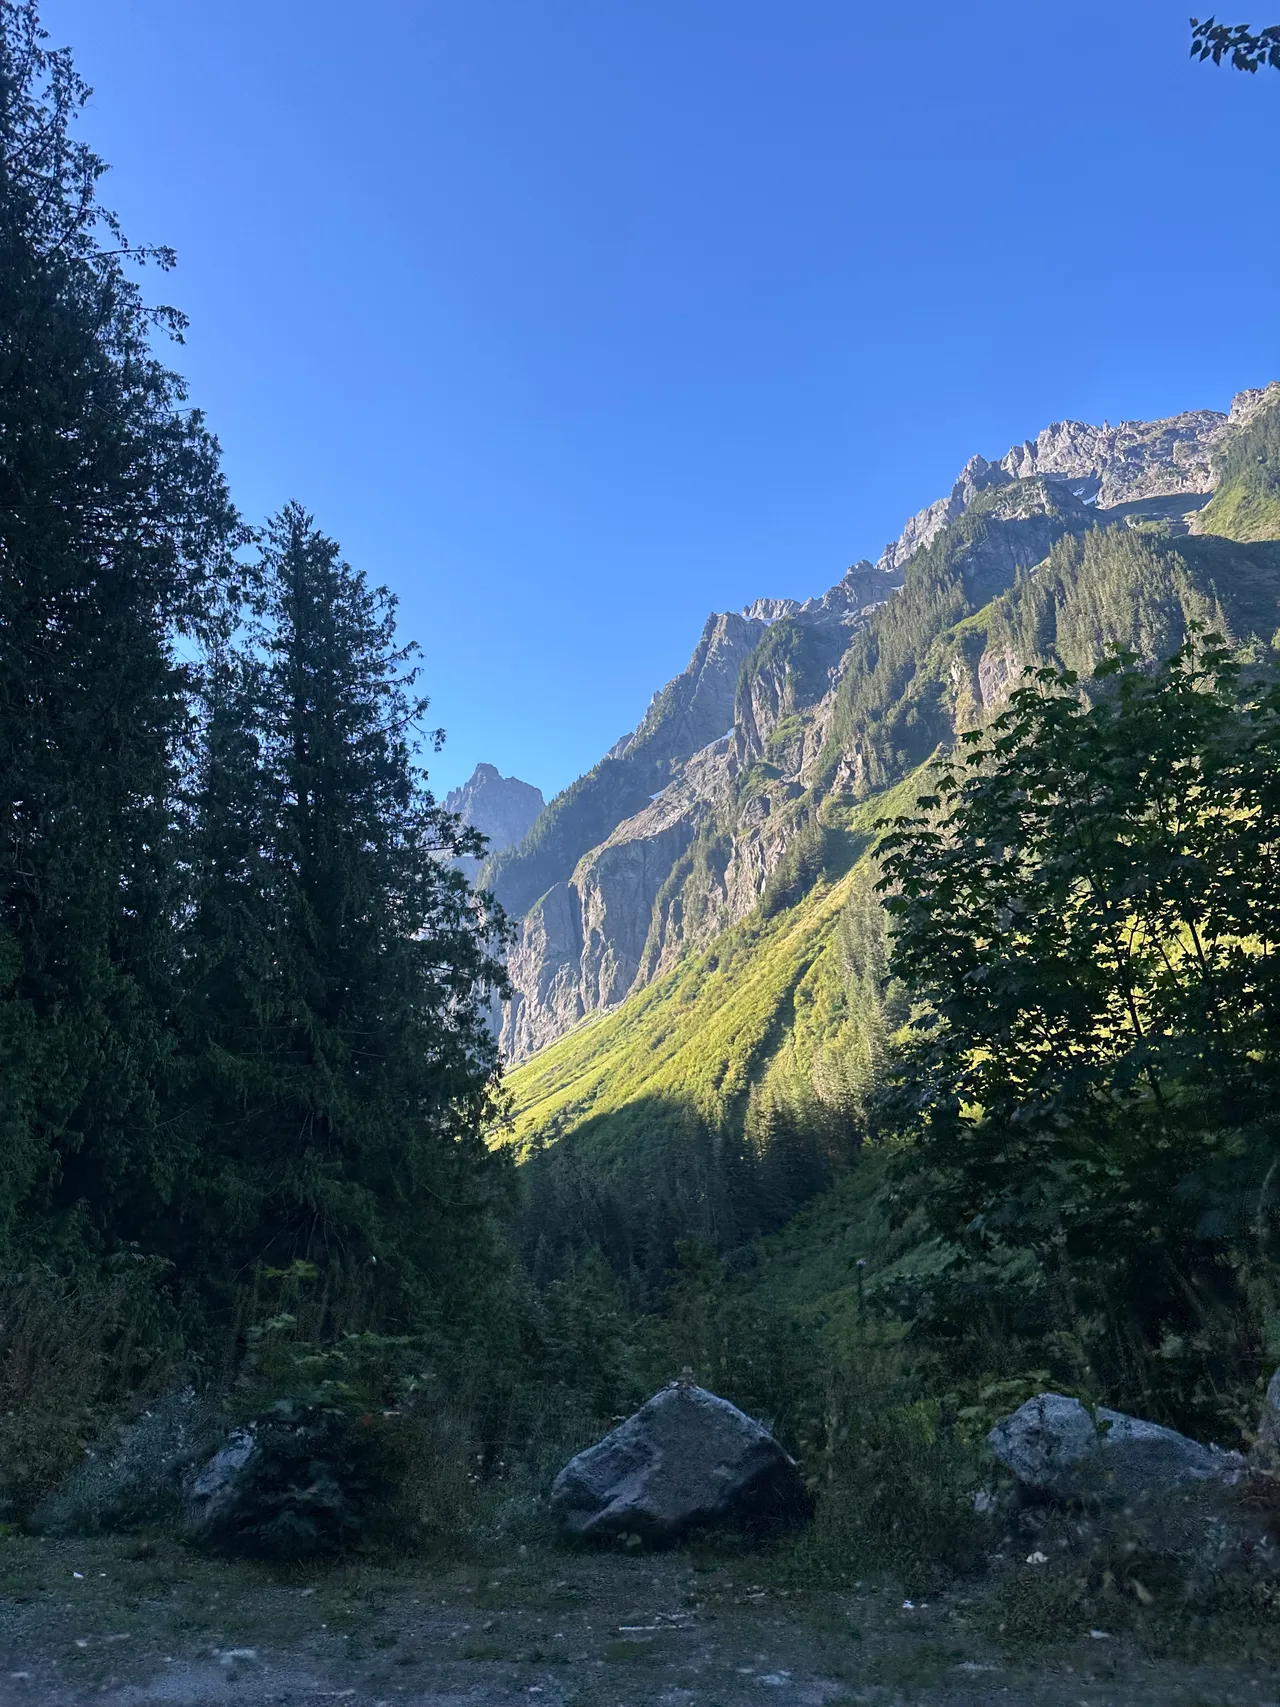
The drive itself is honestly beautiful once you get off the highway. Cascade River Road winds through dense forest with the morning light filtering through the trees, and as you get closer, the mountains start towering above you on both sides. The last stretch of road is gravel, but don't let the internet scare you — a lot of people were being dramatic about this road and I was unnecessarily worried beforehand. The conditions were absolutely fine and easy. The road wasn't that steep and the drive was very comfortable in my AWD MINI Cooper. Take it slow and focused and you'll be totally fine. This drive was nothing compared to the road up to Winchester Mountain — now that road was crazy.
One thing to note: cars did start filling up almost as soon as we arrived, so get there early. We also saw an RV camper slide off a bit by the trailhead after losing grip on the loose rocks, so larger vehicles should be extra careful on the last stretch.

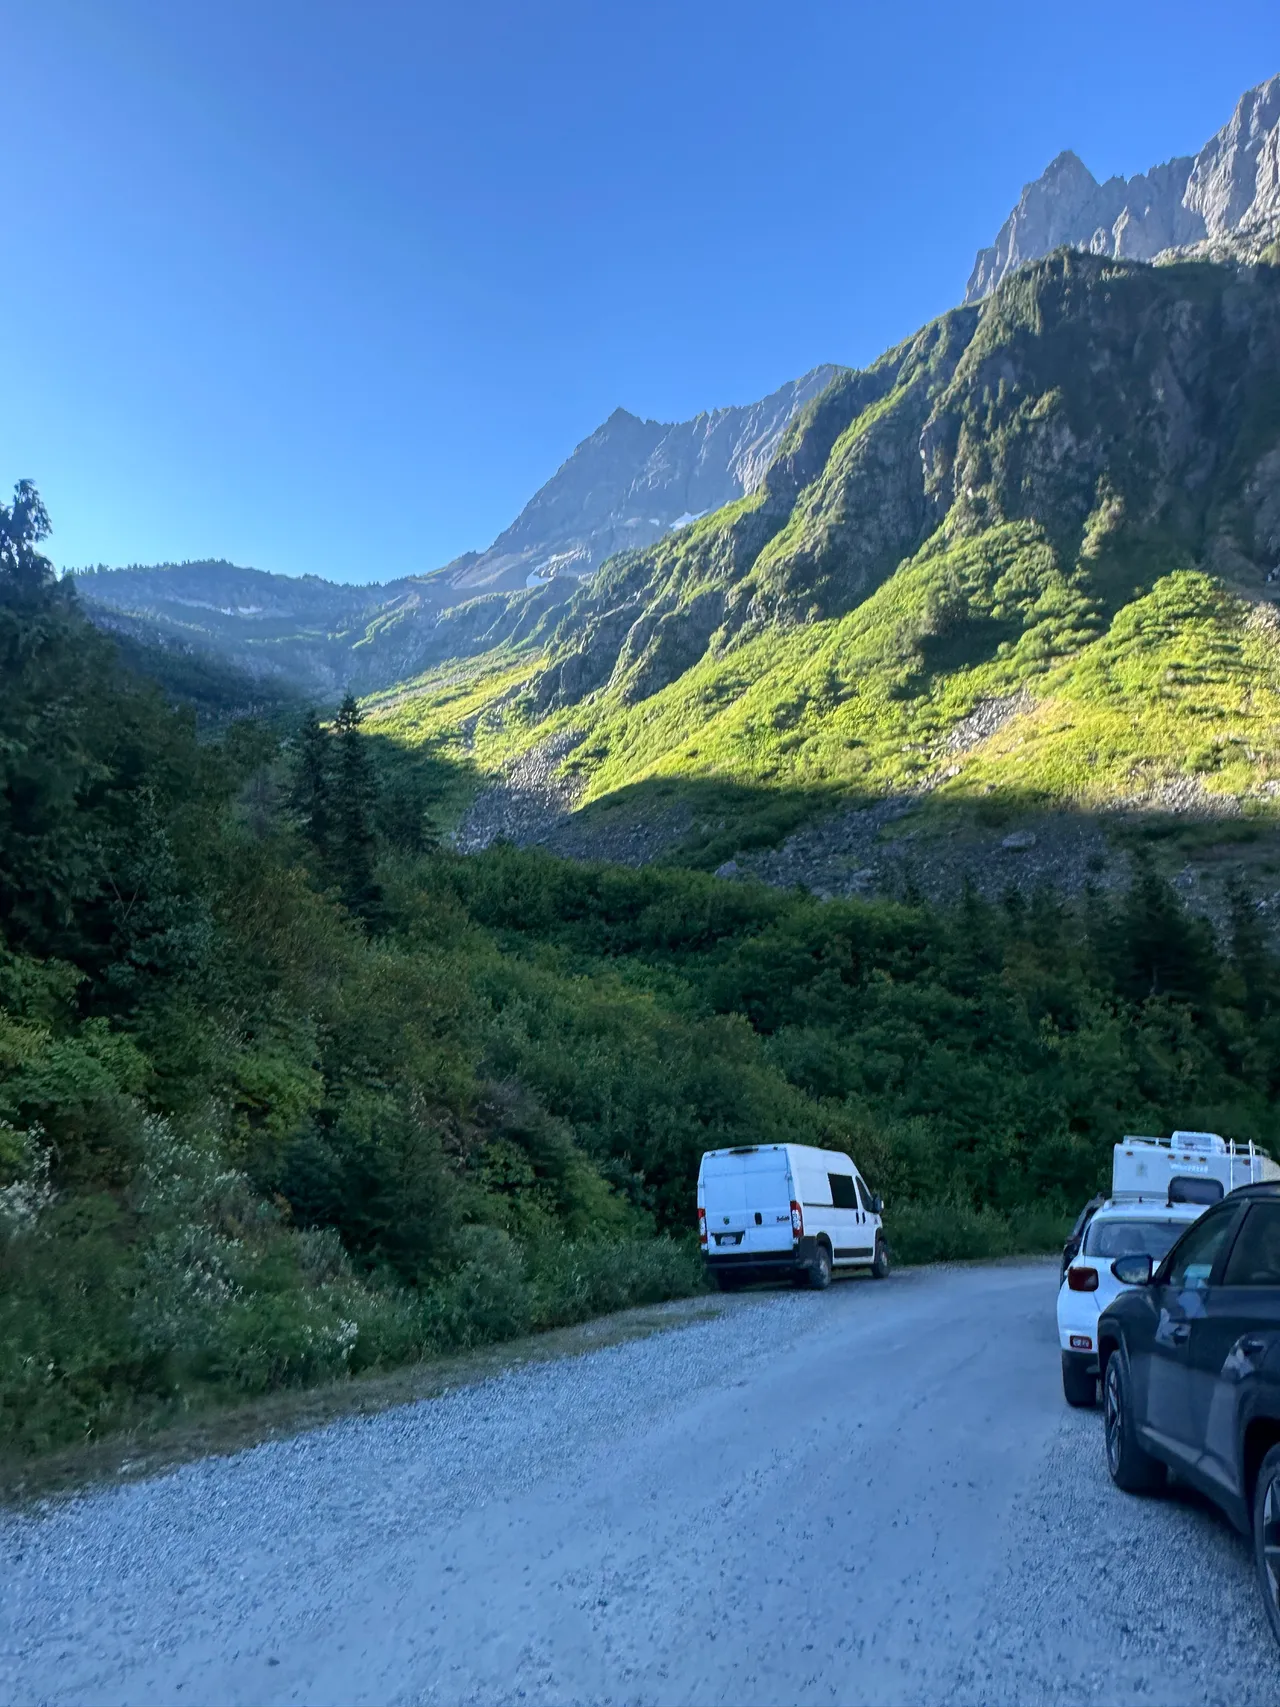
The trailhead parking area fills up on weekends, but since we got there on a Monday morning, there was plenty of room. Our friends' van was easy to spot — they had the prime spot right at the end of the road with the mountains framing everything behind them. If you're thinking about car camping or van camping here, the trailhead area and pullouts along Cascade River Road are solid options for spending the night before your hike.
The Hike
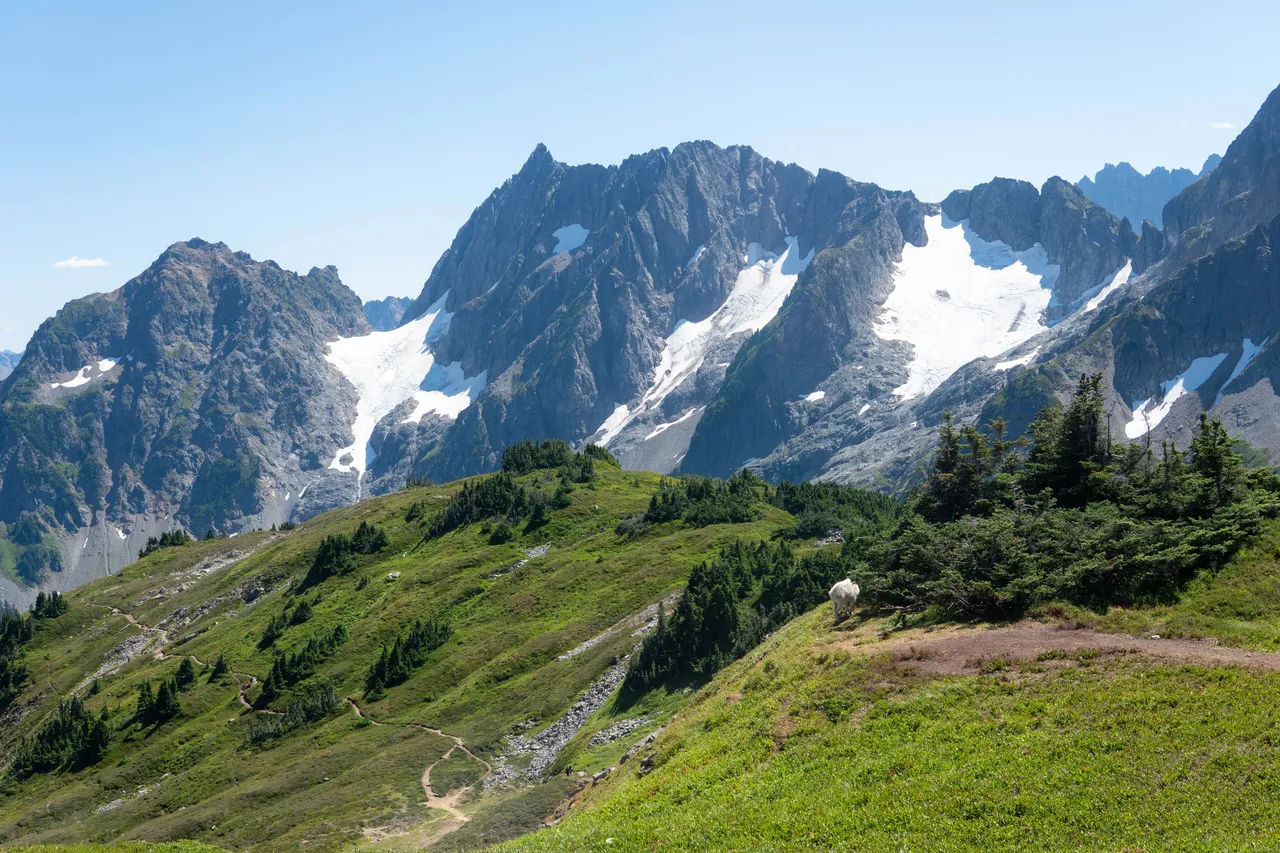
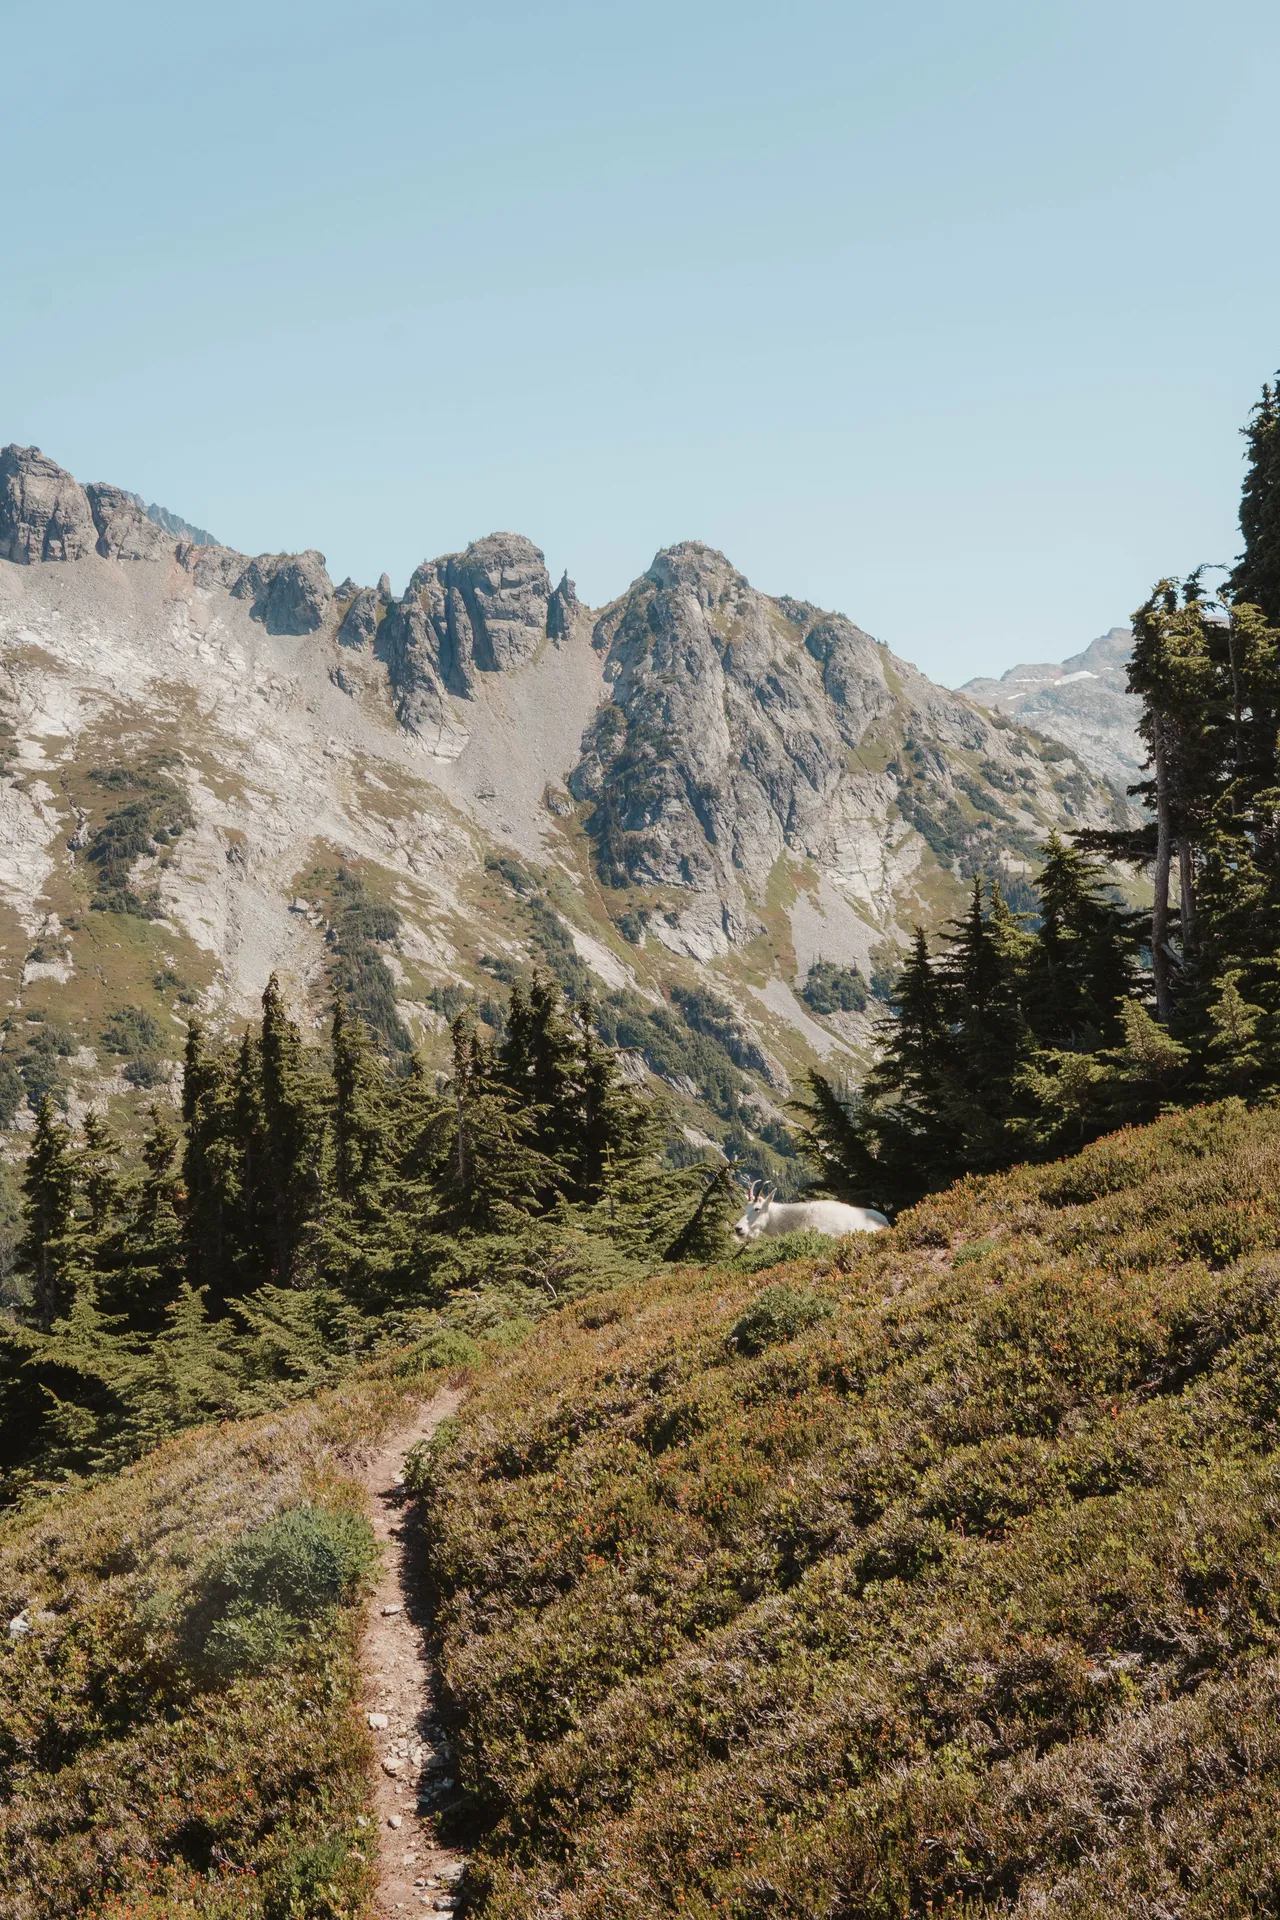
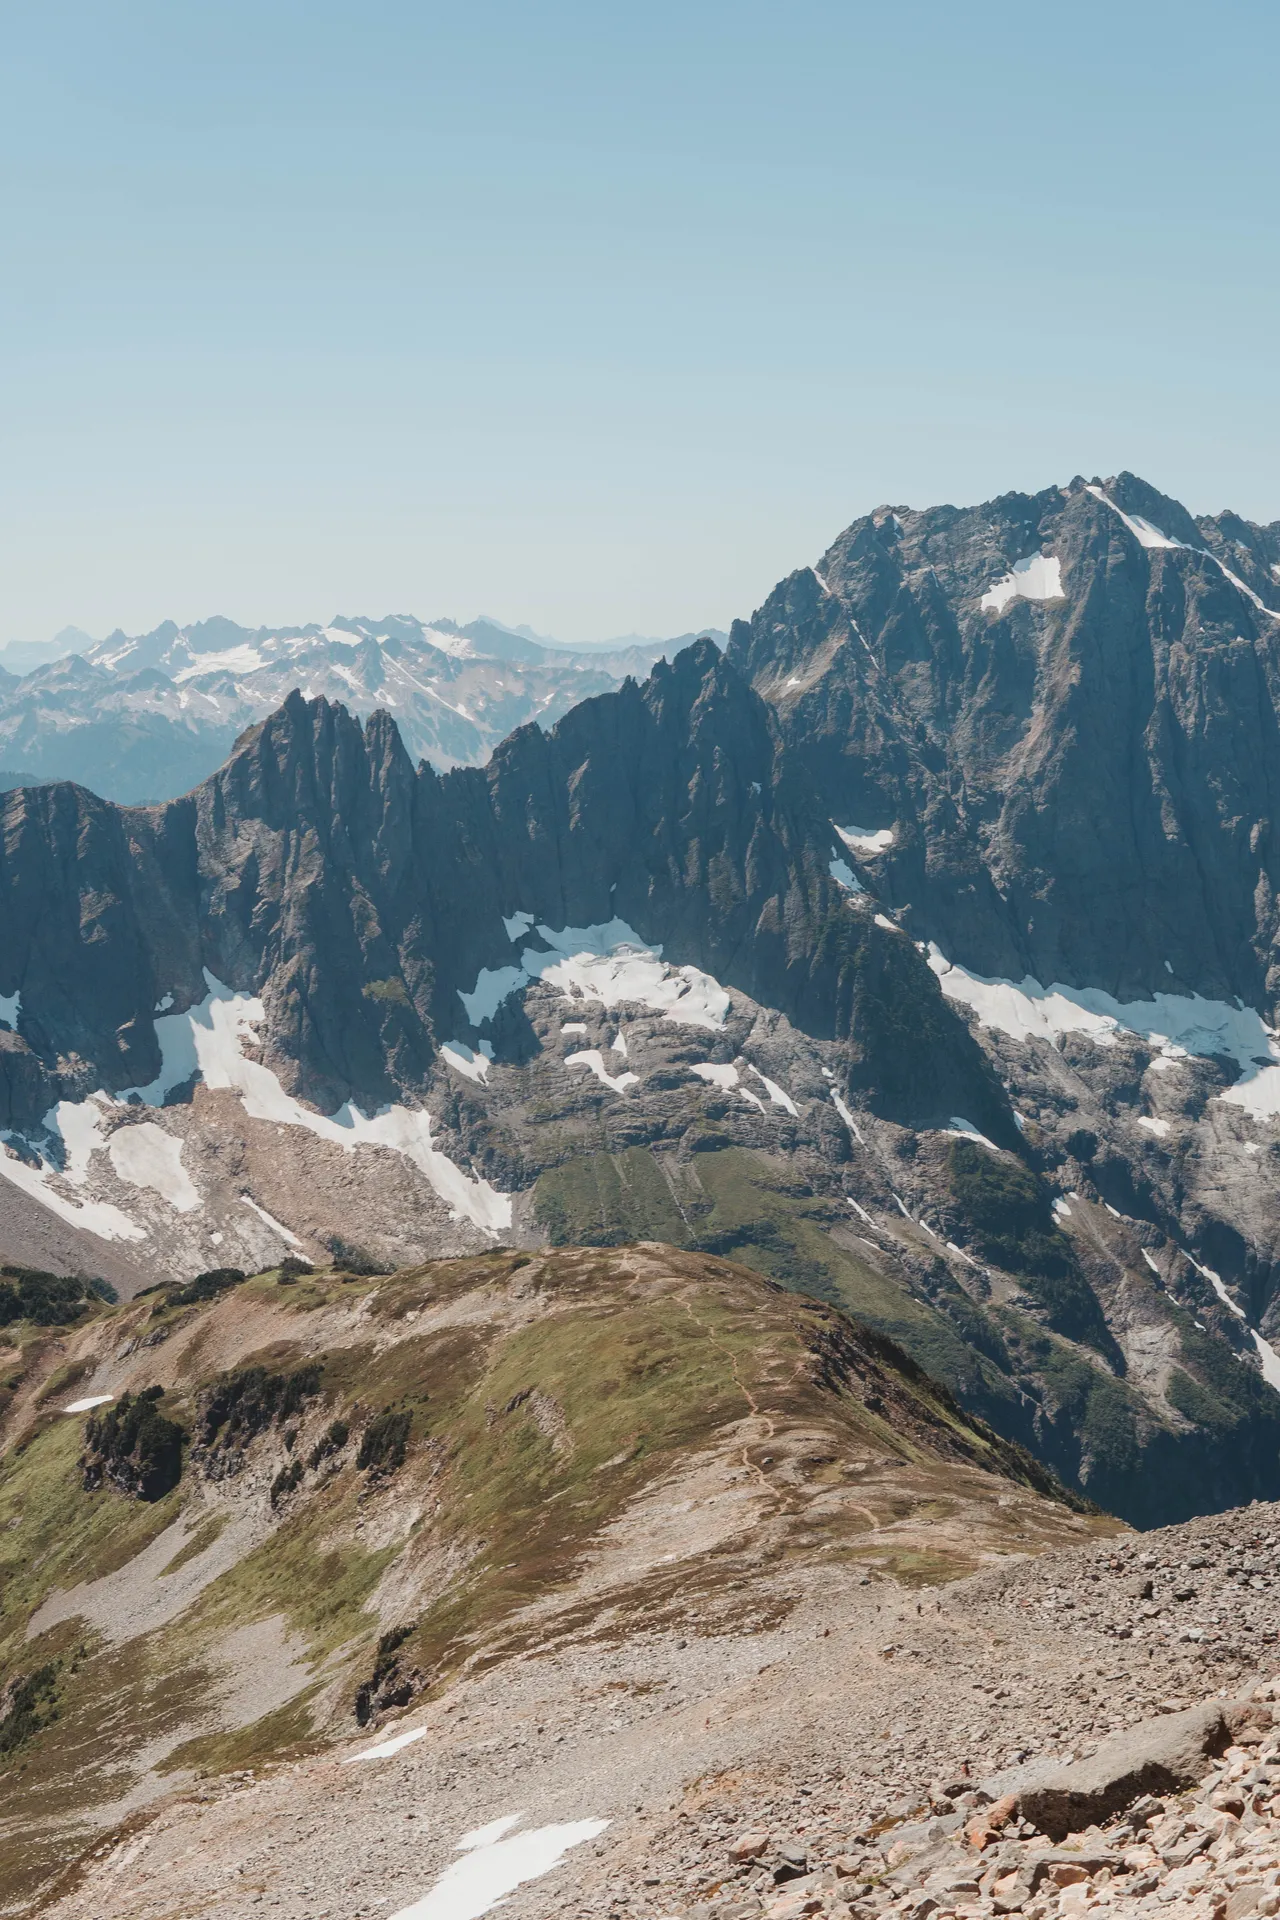
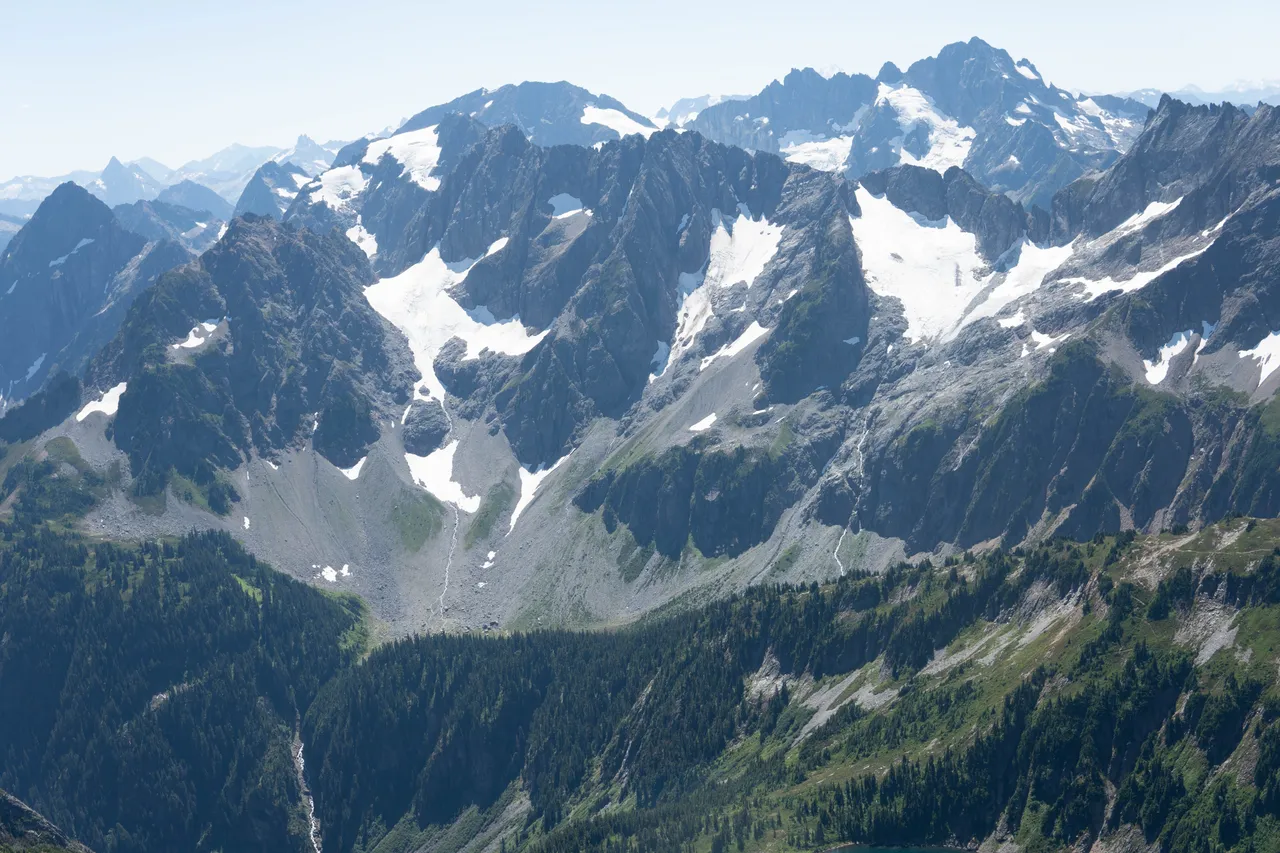
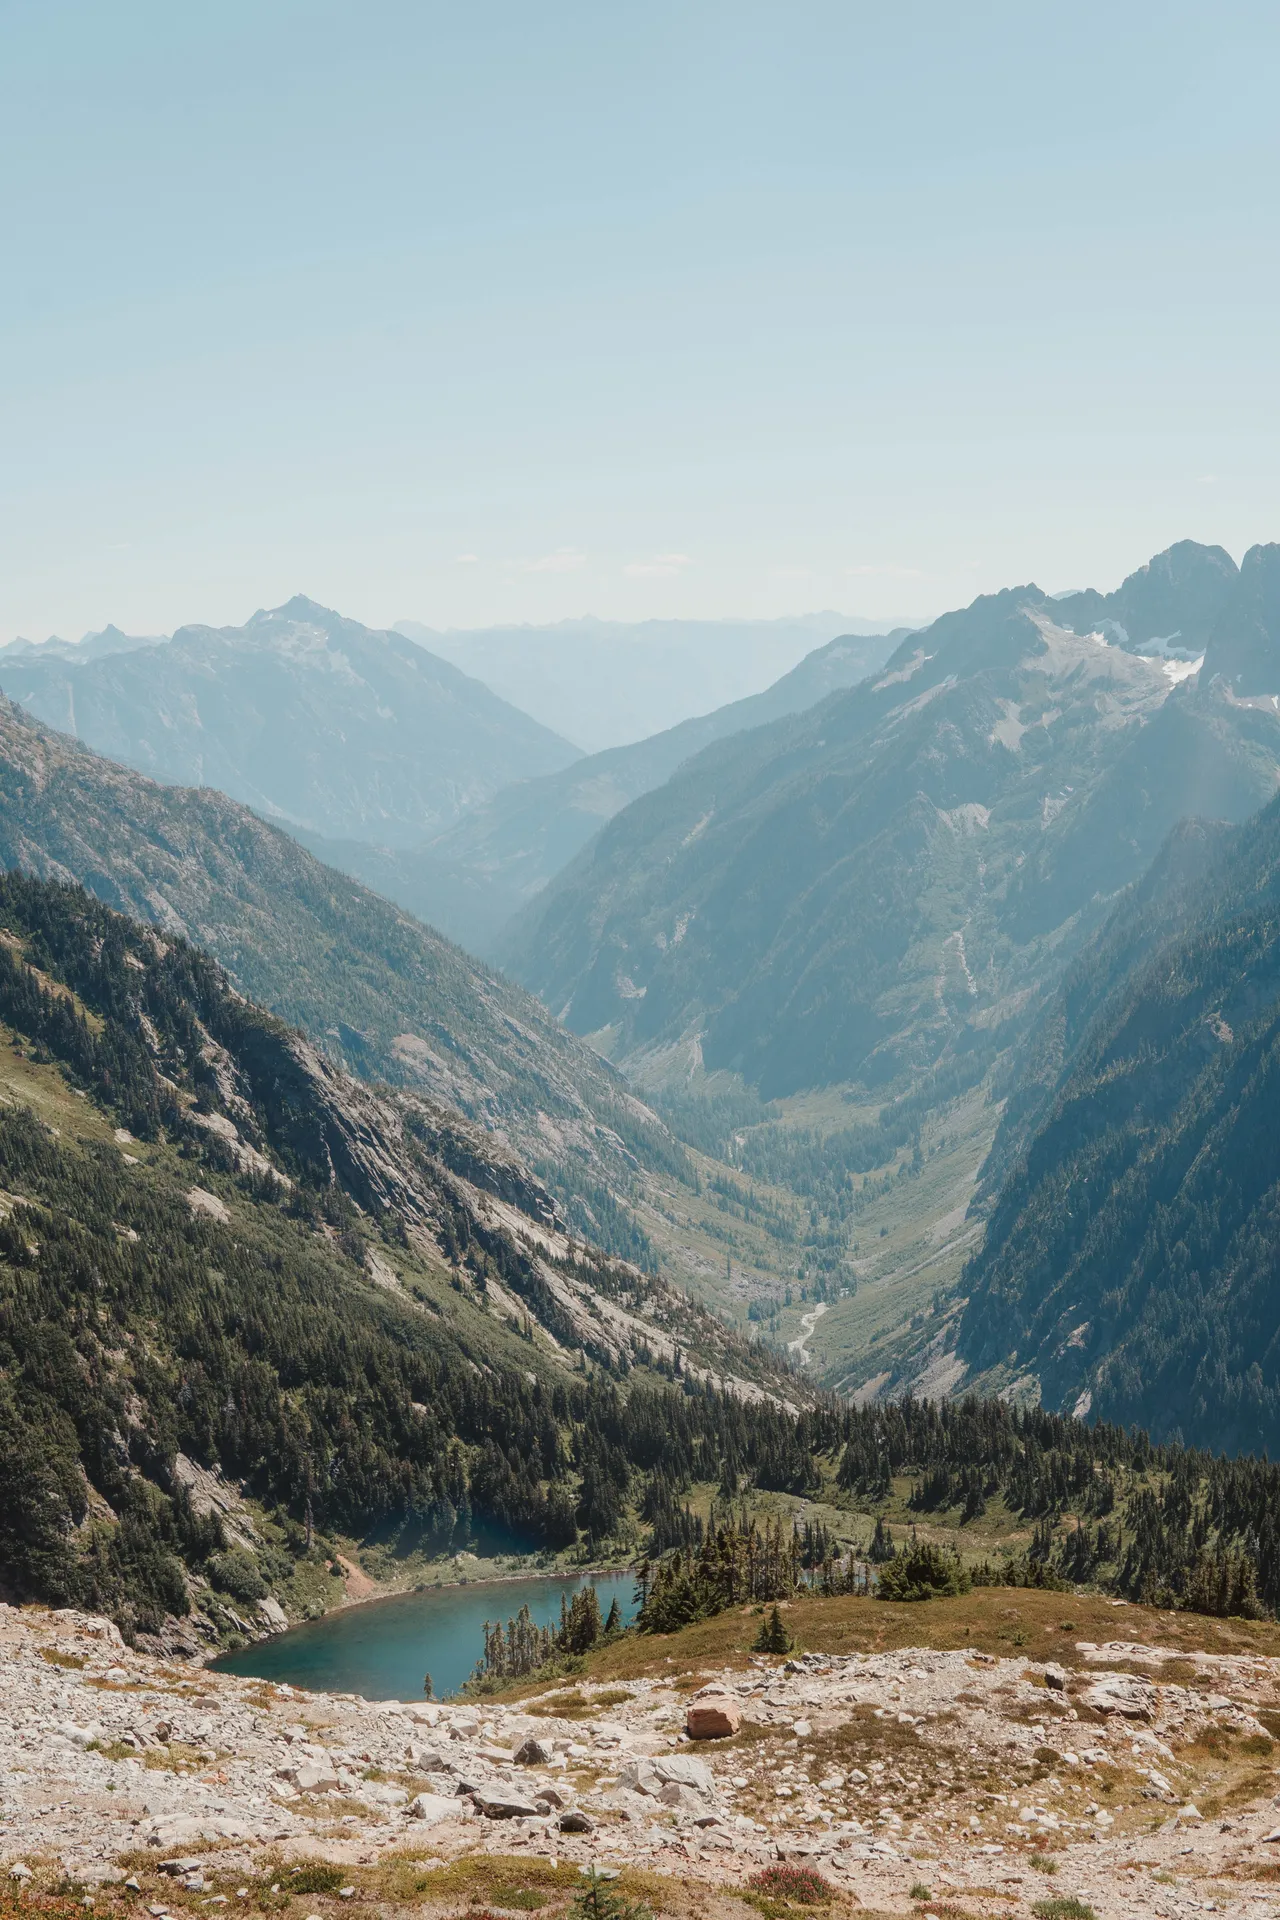
The trail starts with a few miles of forested switchbacks that feel pretty standard for a Cascades hike — shaded, green, and honestly a nice warm-up before things open up. Once you break through the tree line, the landscape completely changes. You're on an exposed ridge with views in every direction, and you can see the trail winding ahead of you along the arm with hikers spread out along it. The scale of everything up here is hard to put into words — massive peaks, glaciers, and a valley of scree dropping off to your right.

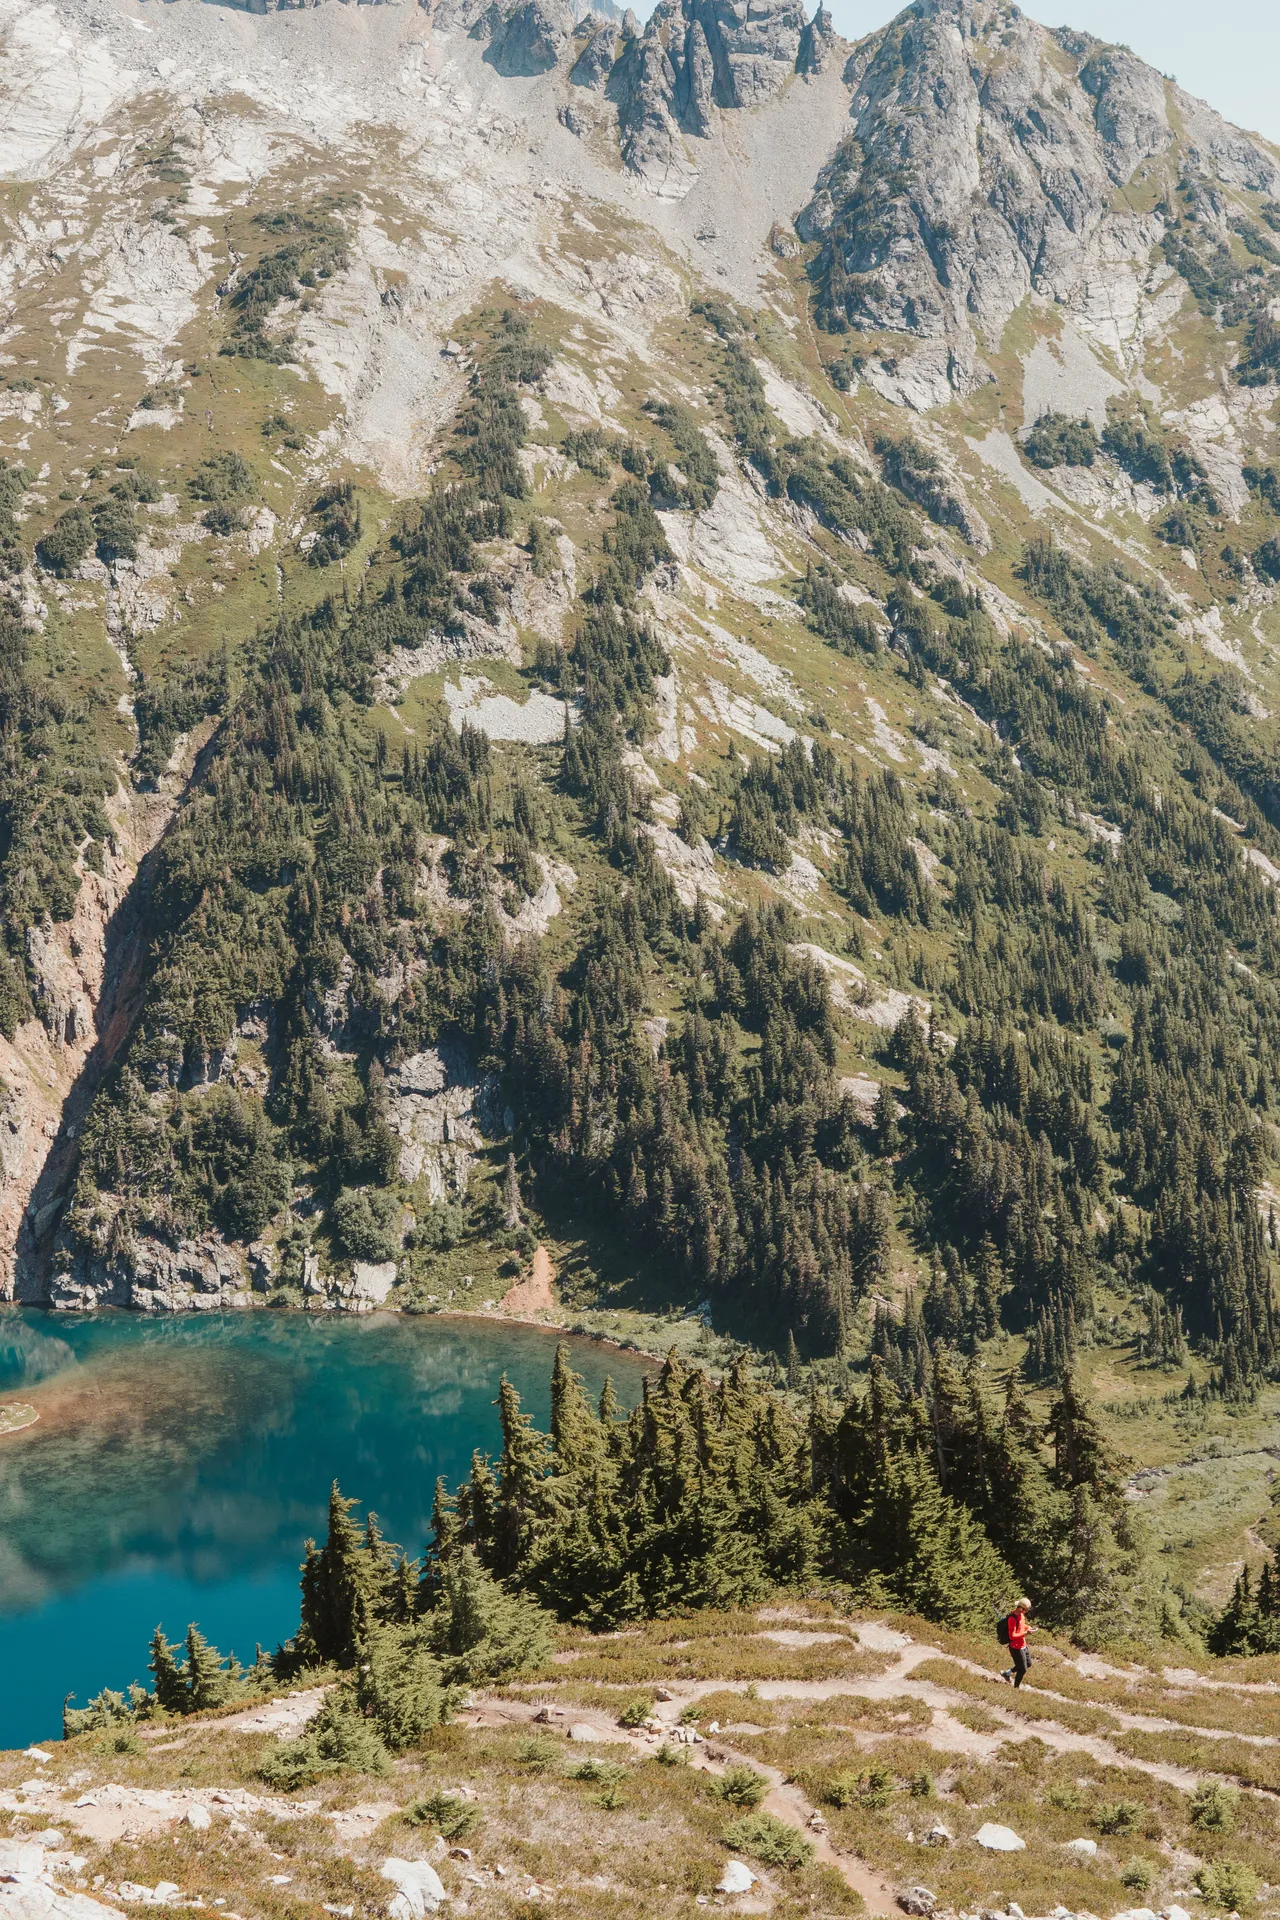
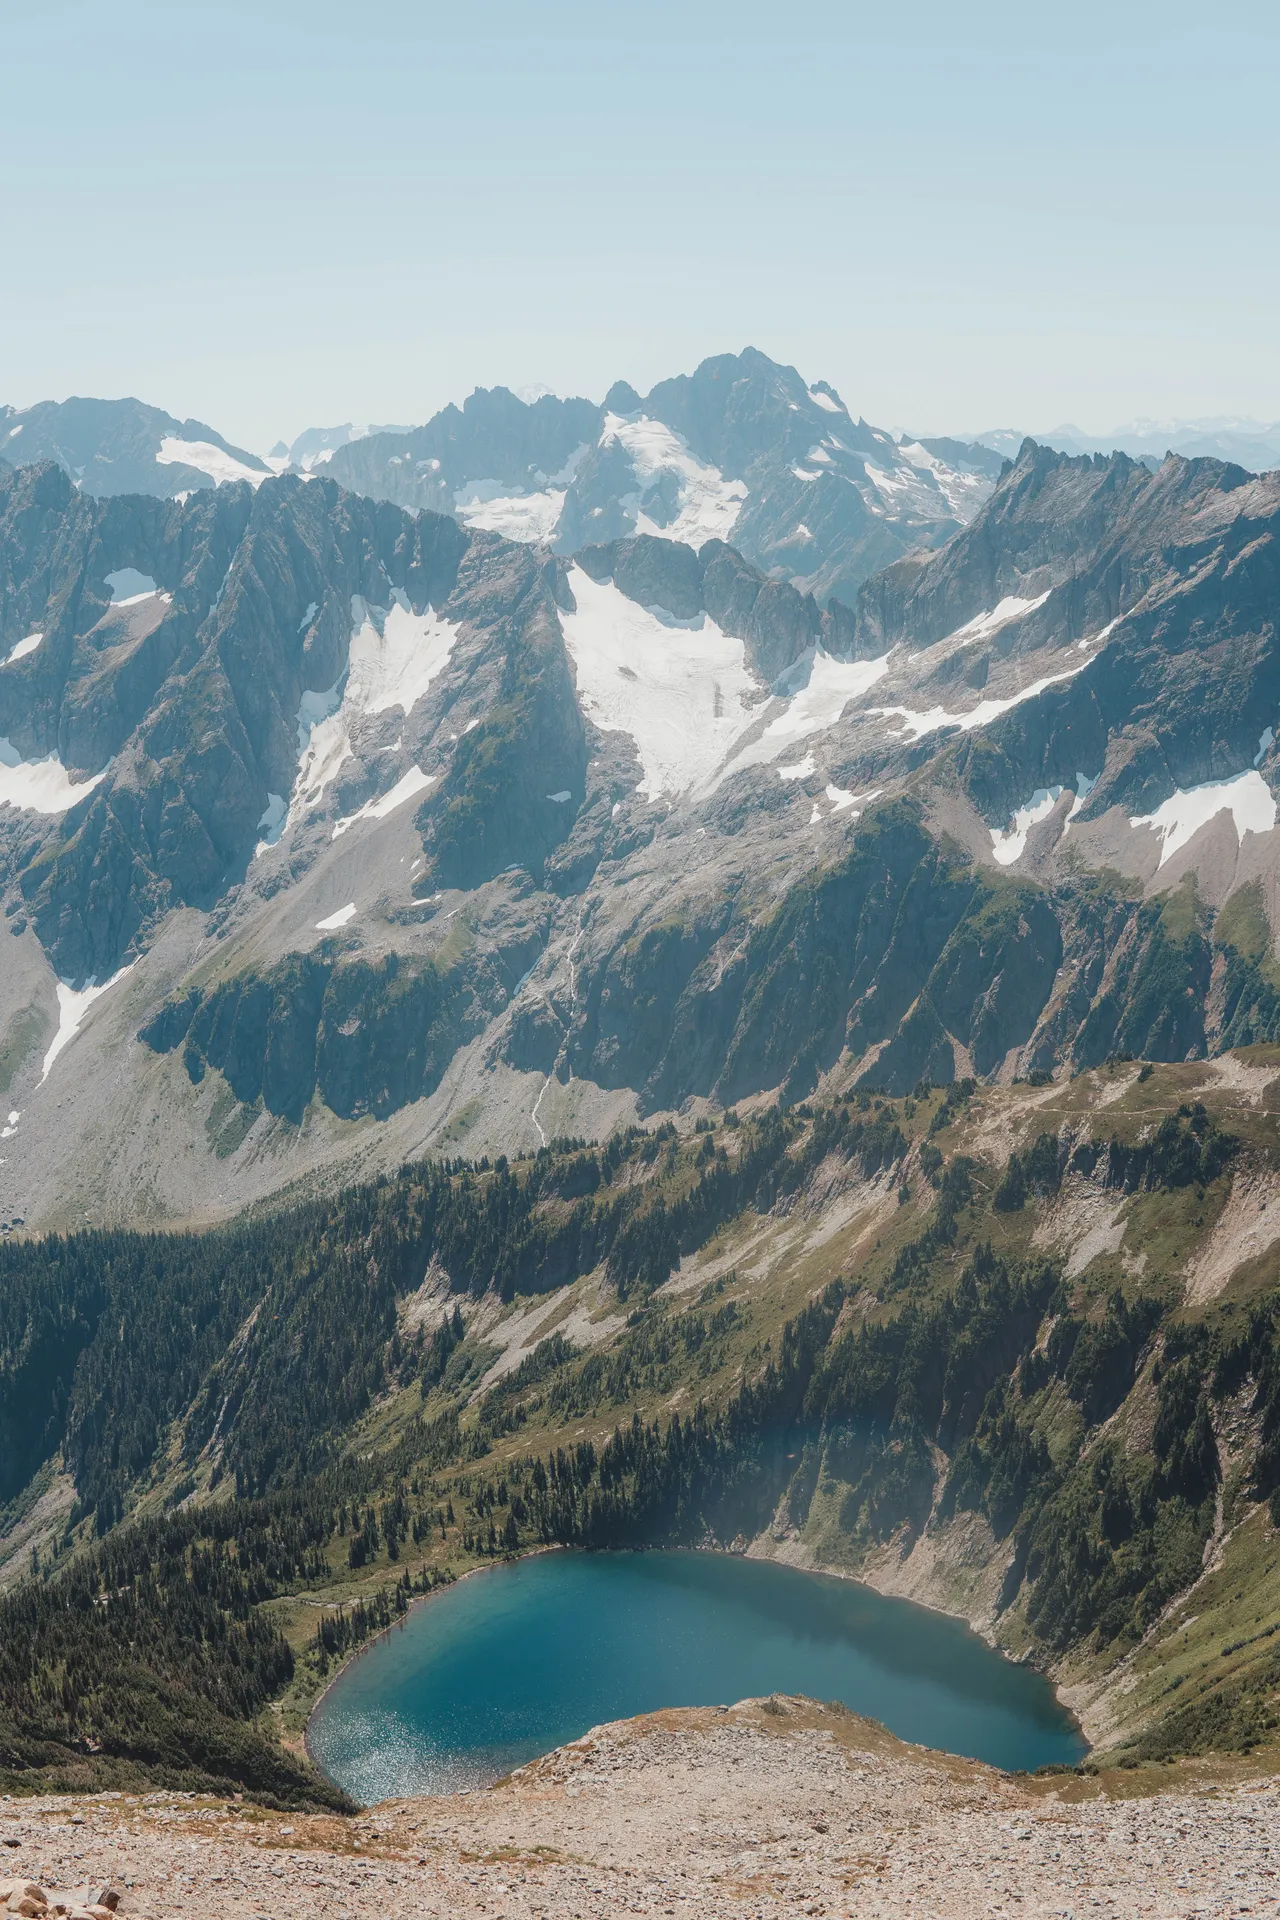
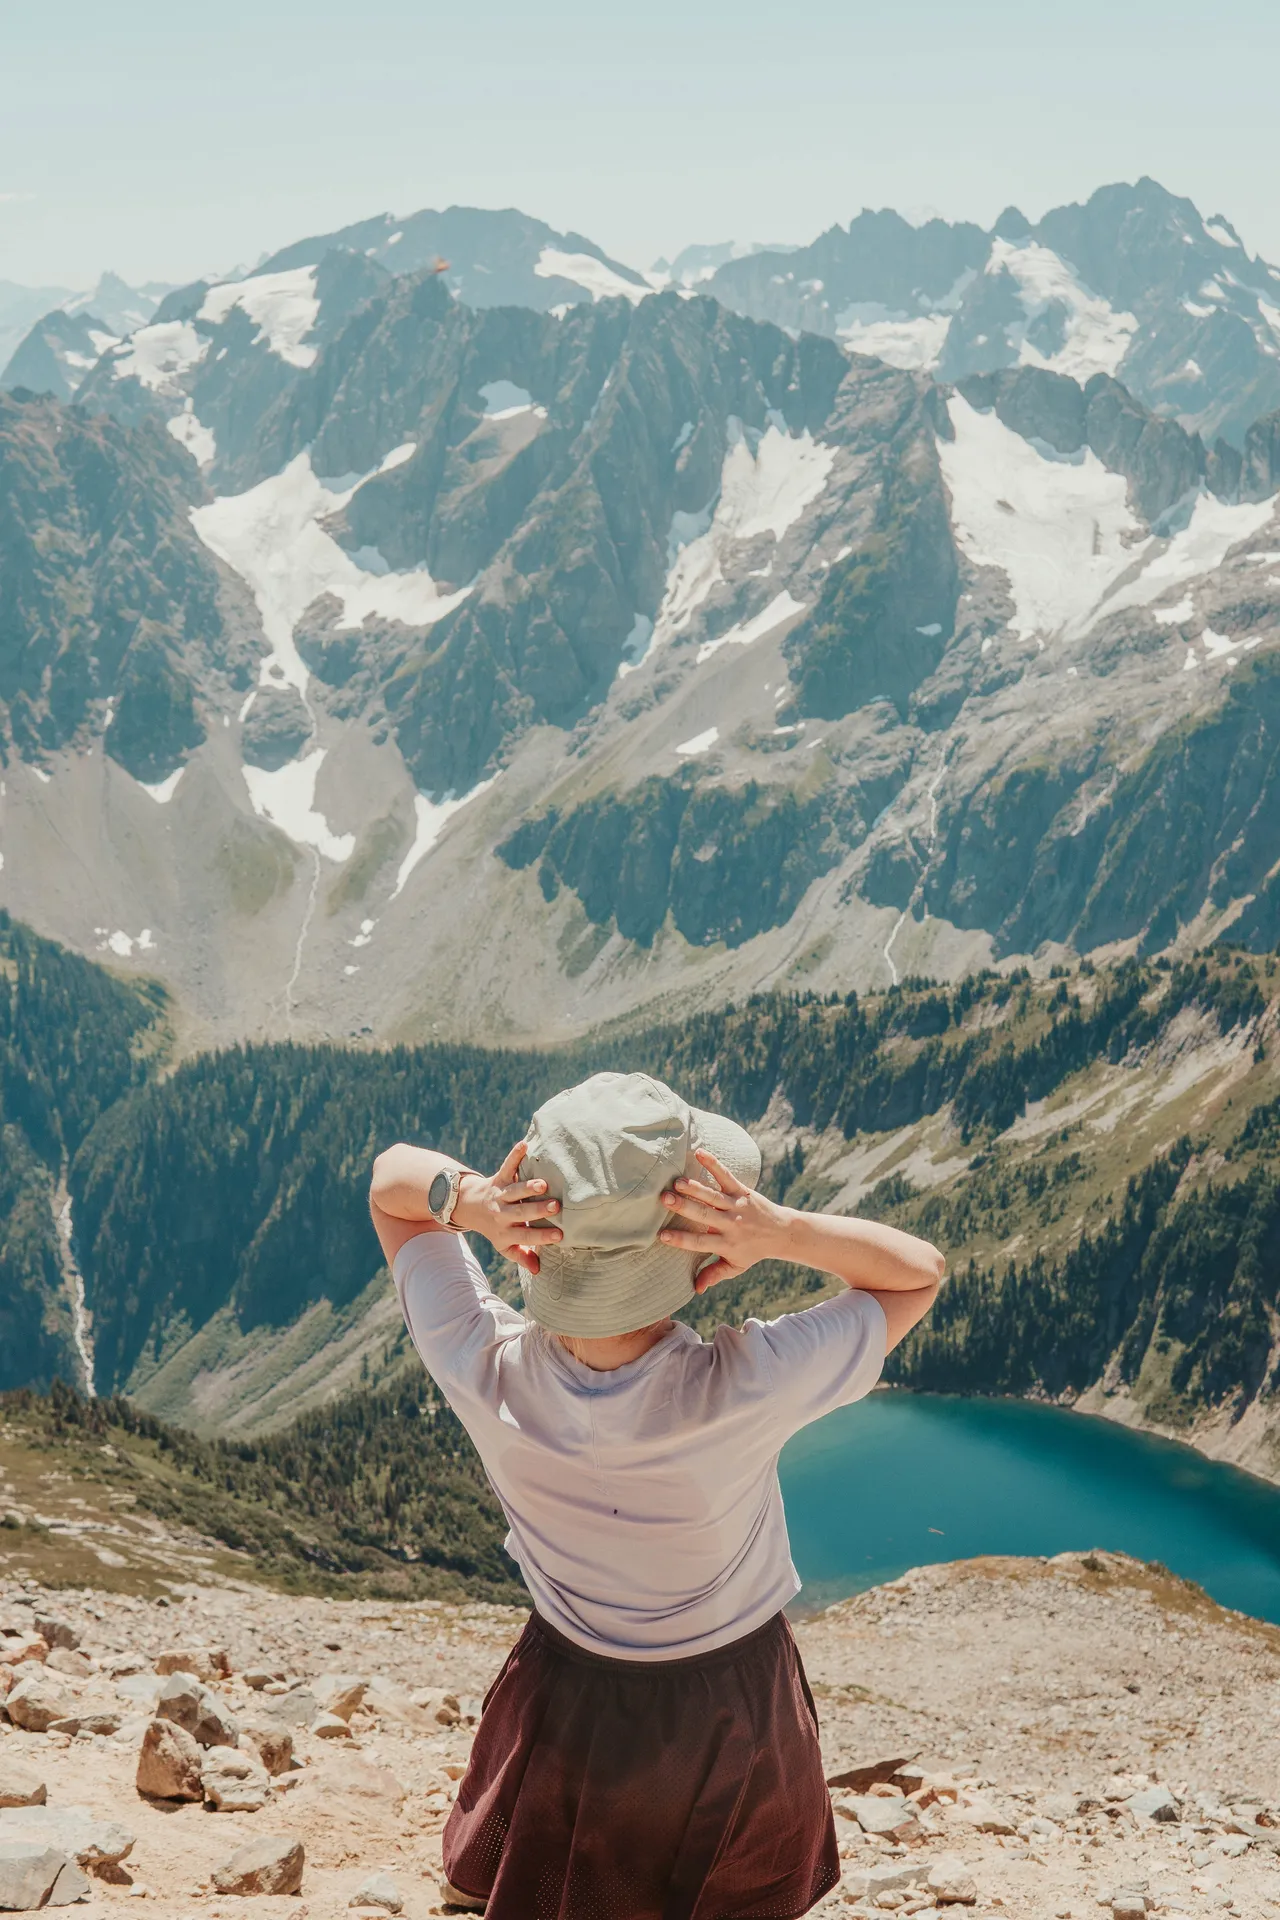
Seeing the first lake viewpoint
About 4 miles in, you'll get your first view of the main picturesque lake of this hike. It's stunning — that deep turquoise color nestled between steep rock walls with a small island in the middle. Many people turn around here and don't continue on to the glacier, and I think that's totally fine if you're short on time or don't want as strenuous of a hike. There is a trail down to the lake itself, but it's not close by and adds extra mileage. The viewpoint area isn't very large, but you can still find some space to sit down and eat lunch while taking it all in.

Bring on the goats!
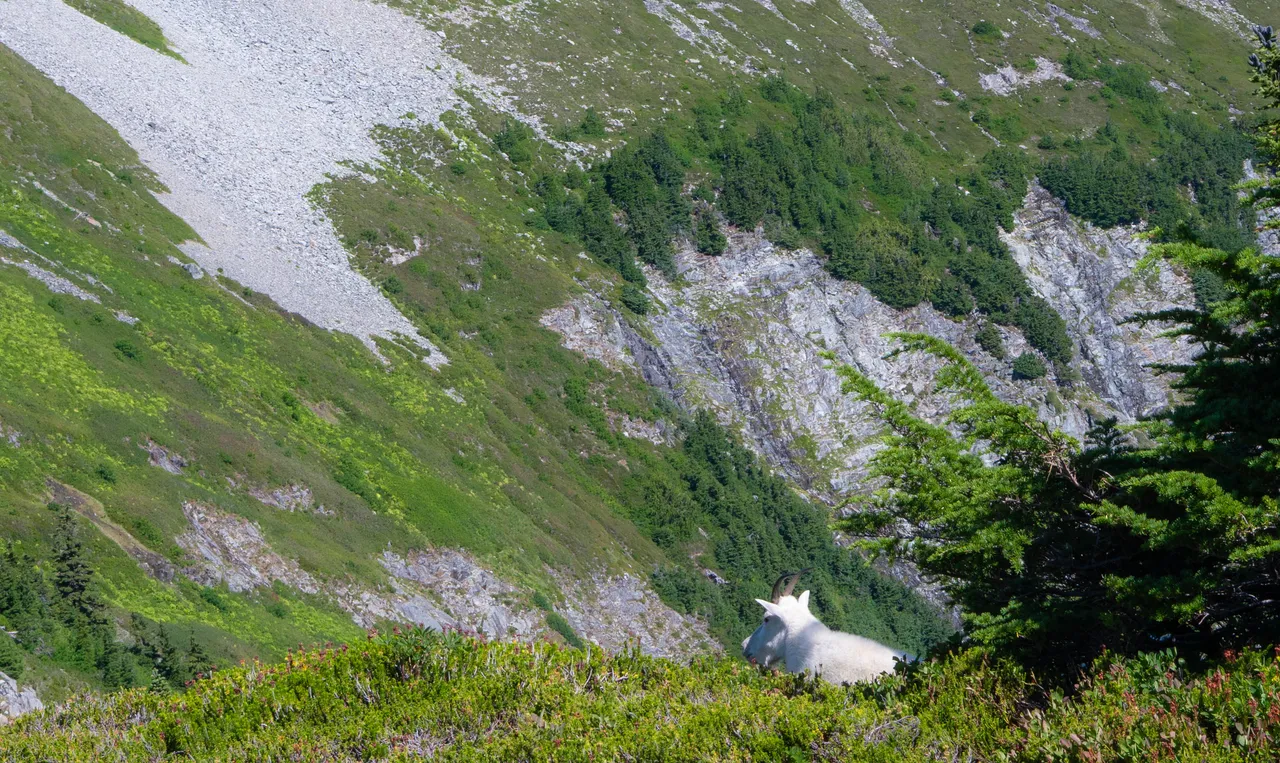
If you're looking for close-up, practically guaranteed mountain goat sightings, this is your hike. We spotted 10+ mountain goats on the trail, many of them just casually grazing right next to the path like they owned the place (they do). Since we were there in August, a lot of the goats had their babies with them too — the little ones were stumbling around on the rocky slopes and it was honestly the highlight of the day. I've seen mountain goats on other hikes in Washington, but never this many and never this close. They're completely unbothered by hikers up here.
The last mile
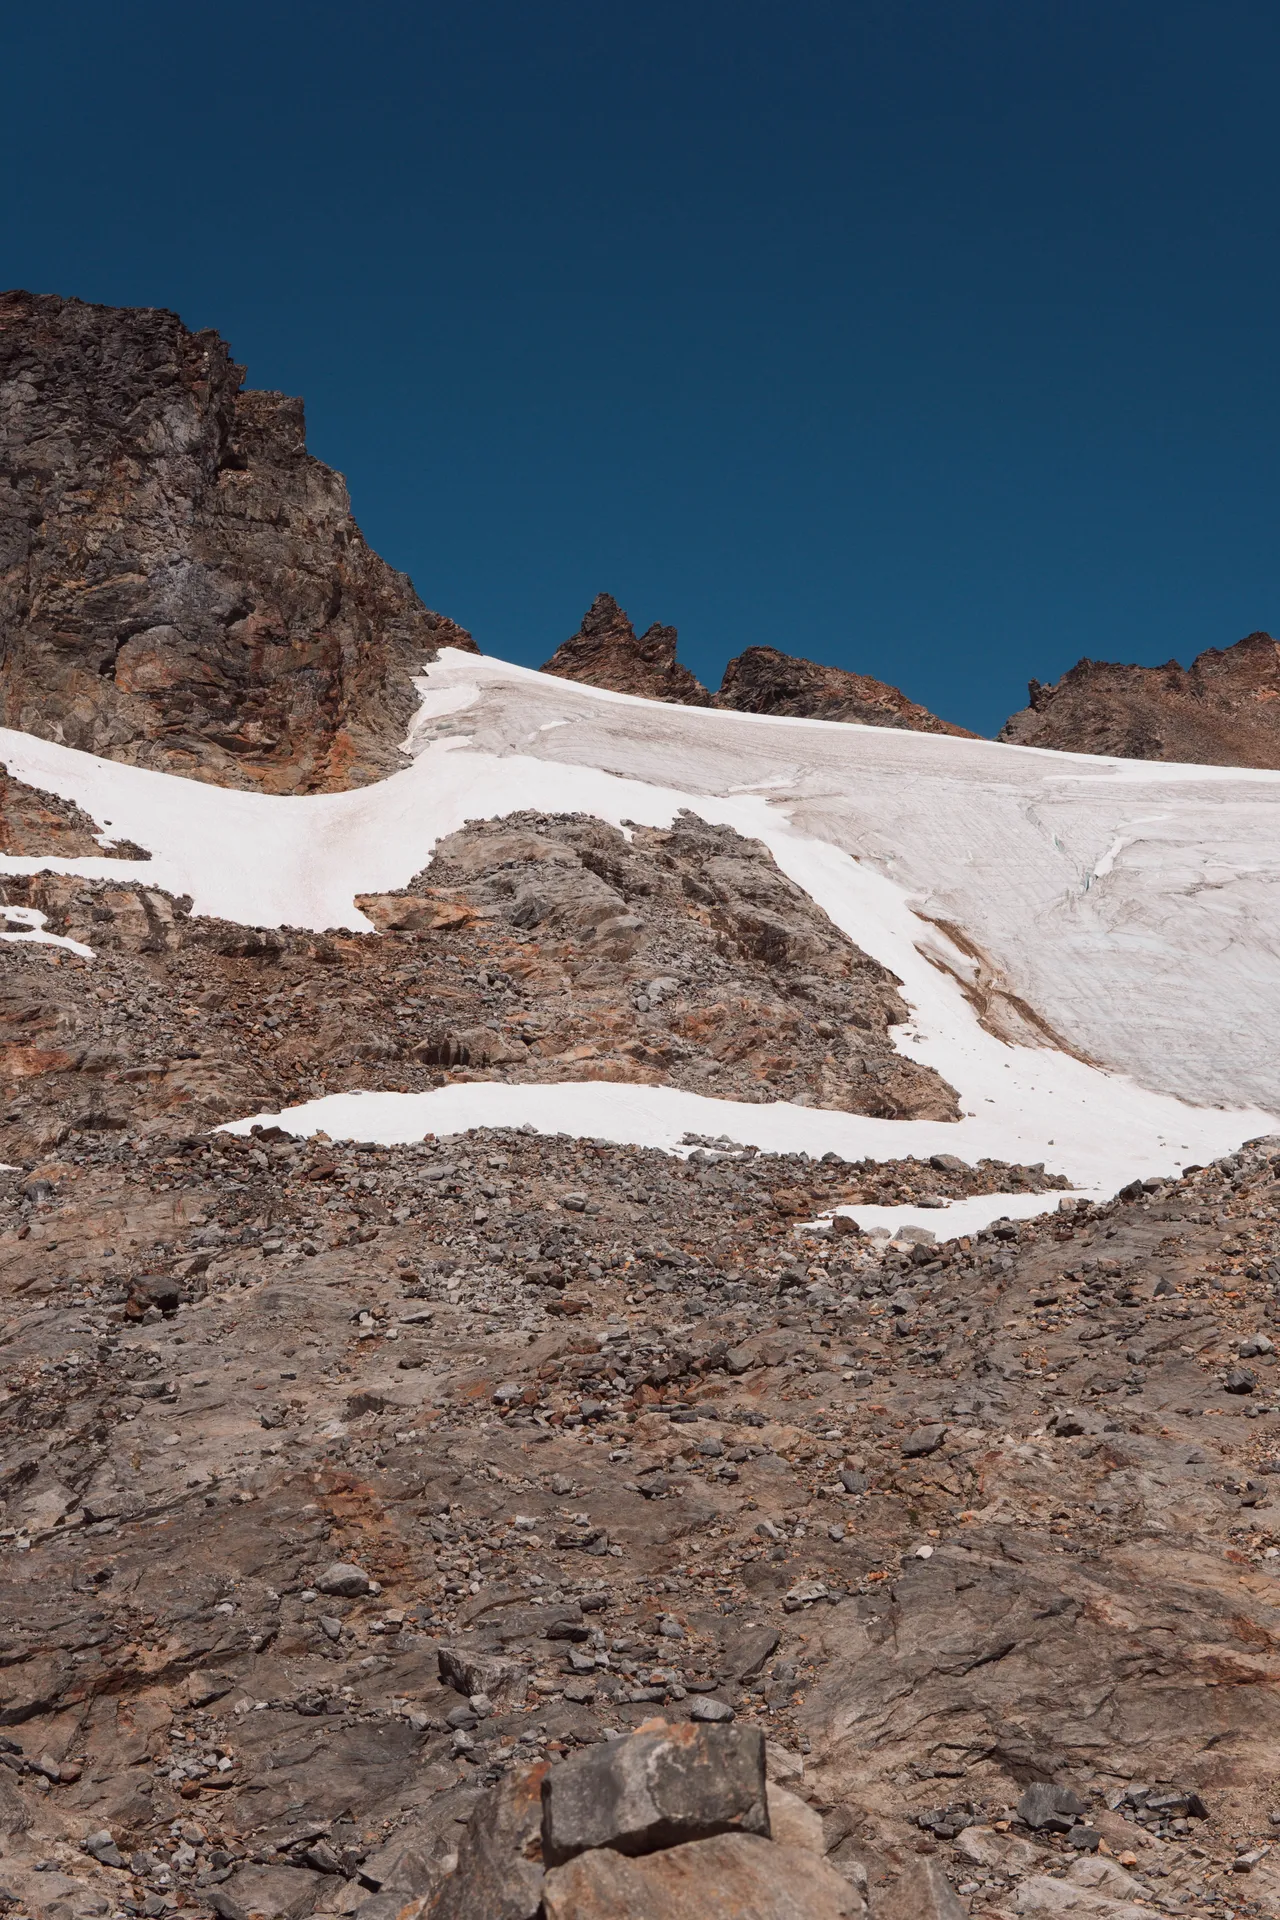
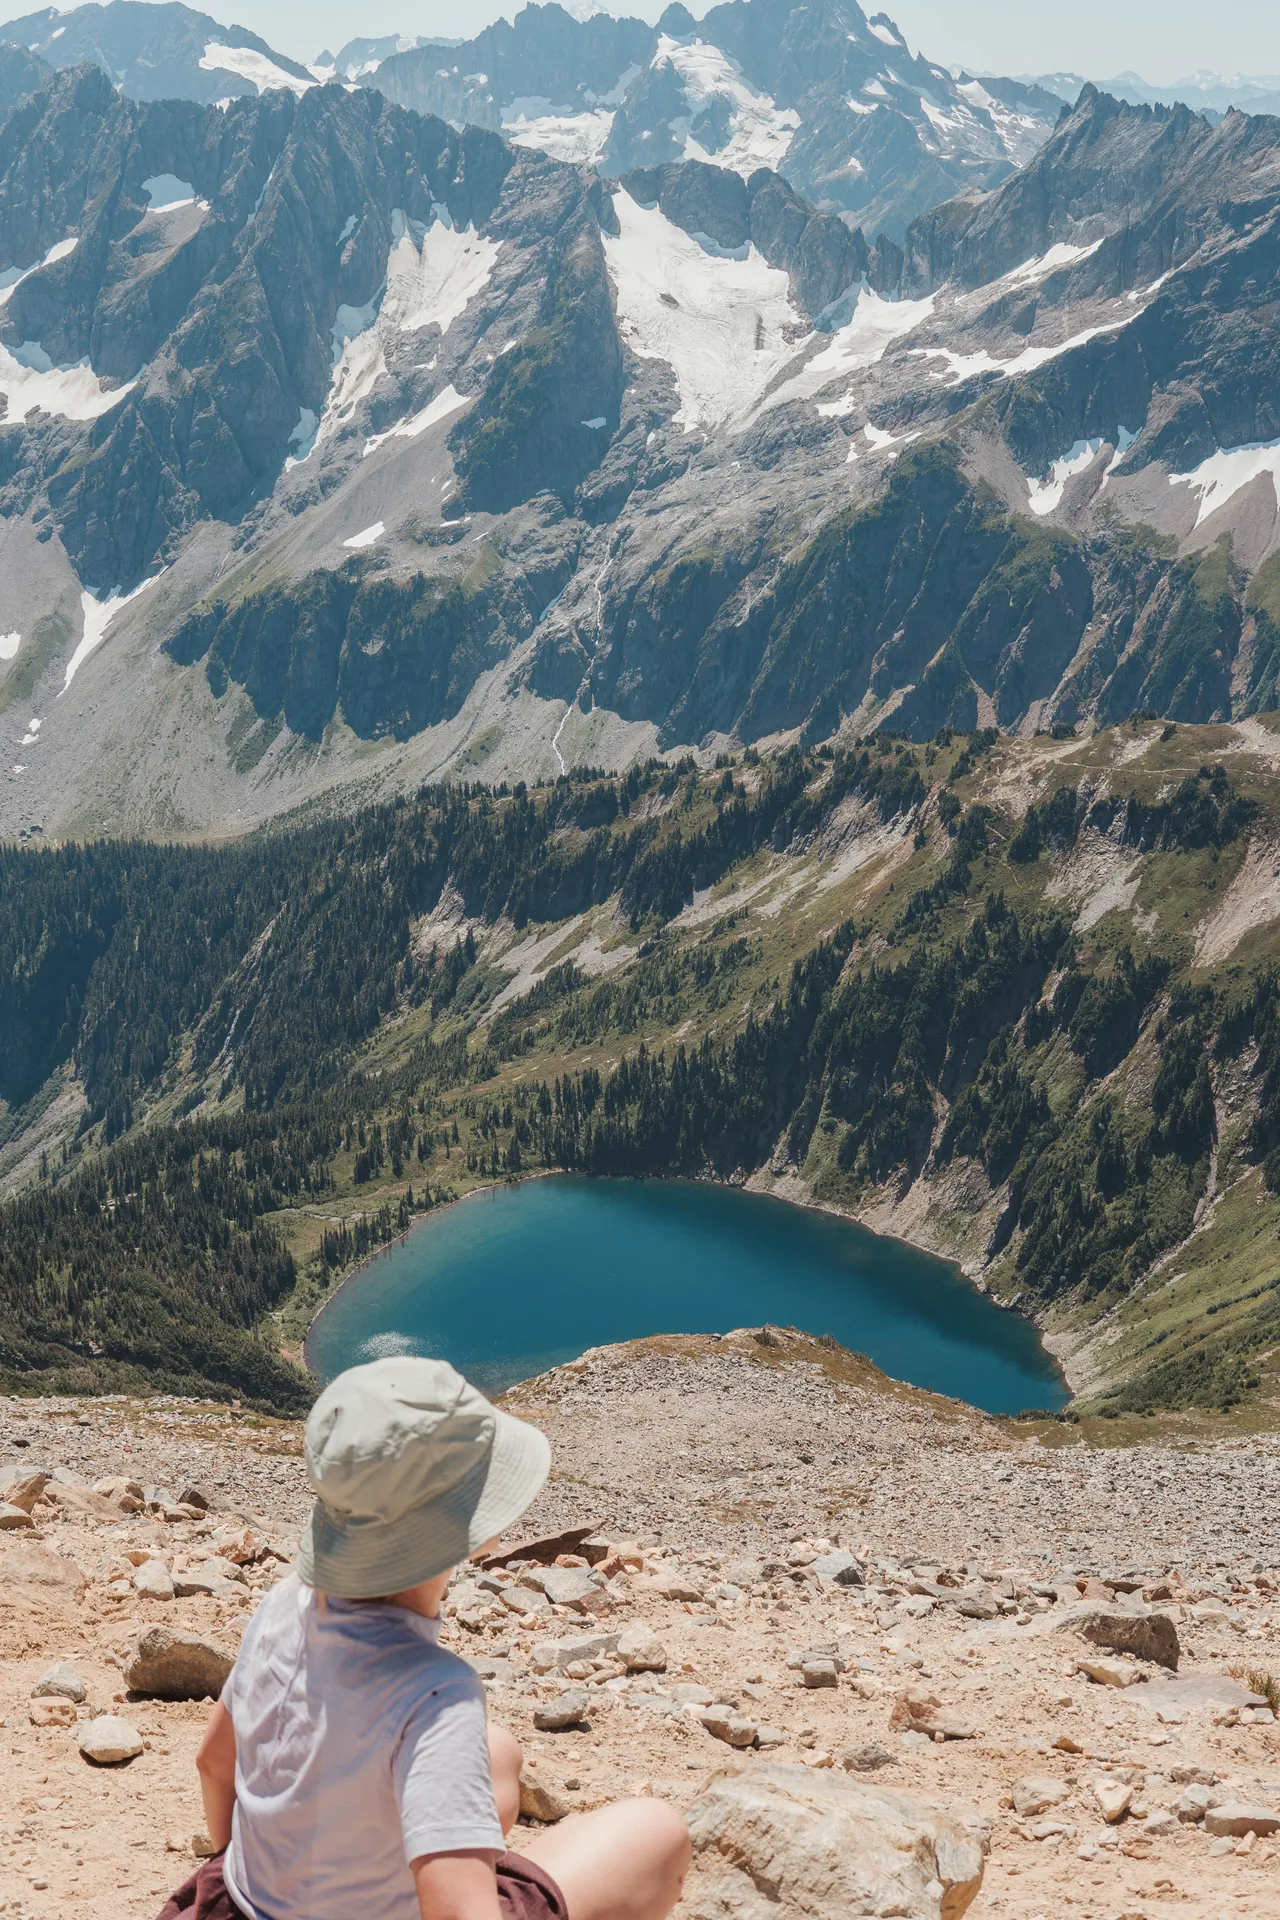
The last mile is the steep section that climbs above the scree and up to where you can finally see the Sahale Glacier and look down at the lake from way up high. You can see the lake from other spots on the trail, but to get the glacier views and that fully exposed summit panorama, you have to push through this final stretch — which packs roughly a thousand feet of elevation gain into that one mile. It's intense.
By this point, we were completely depleted from the sun and the climbing. Two of our friends who were hiking with us decided to turn around and skip the last mile — they were exhausted and didn't think it was worth it. Honestly, I get it. But I really like to finish a hike fully, and in my opinion, the last mile is the whole point. The views from the top are unlike anything else on the trail. It was a little steep and a little sketchy in certain spots, but we just took it slow and had a great time.
One thing I'd recommend: bring walkie-talkies if you're hiking in a group that might split up. There's no cell service up here, and after our friends turned around, we had a hard time finding each other on the way down. We eventually reconnected as we kept descending, but walkie-talkies would've saved us a lot of stress.
At the very top, we were greeted by swarms of ladybugs — they were landing all over us, which was kind of surreal and cool. We also spotted a few tents pitched near the glacier, so people were clearly camping up there to do some glacier hiking too. The Sahale Glacier up close was incredible — just pure rock, ice, and deep blue sky.
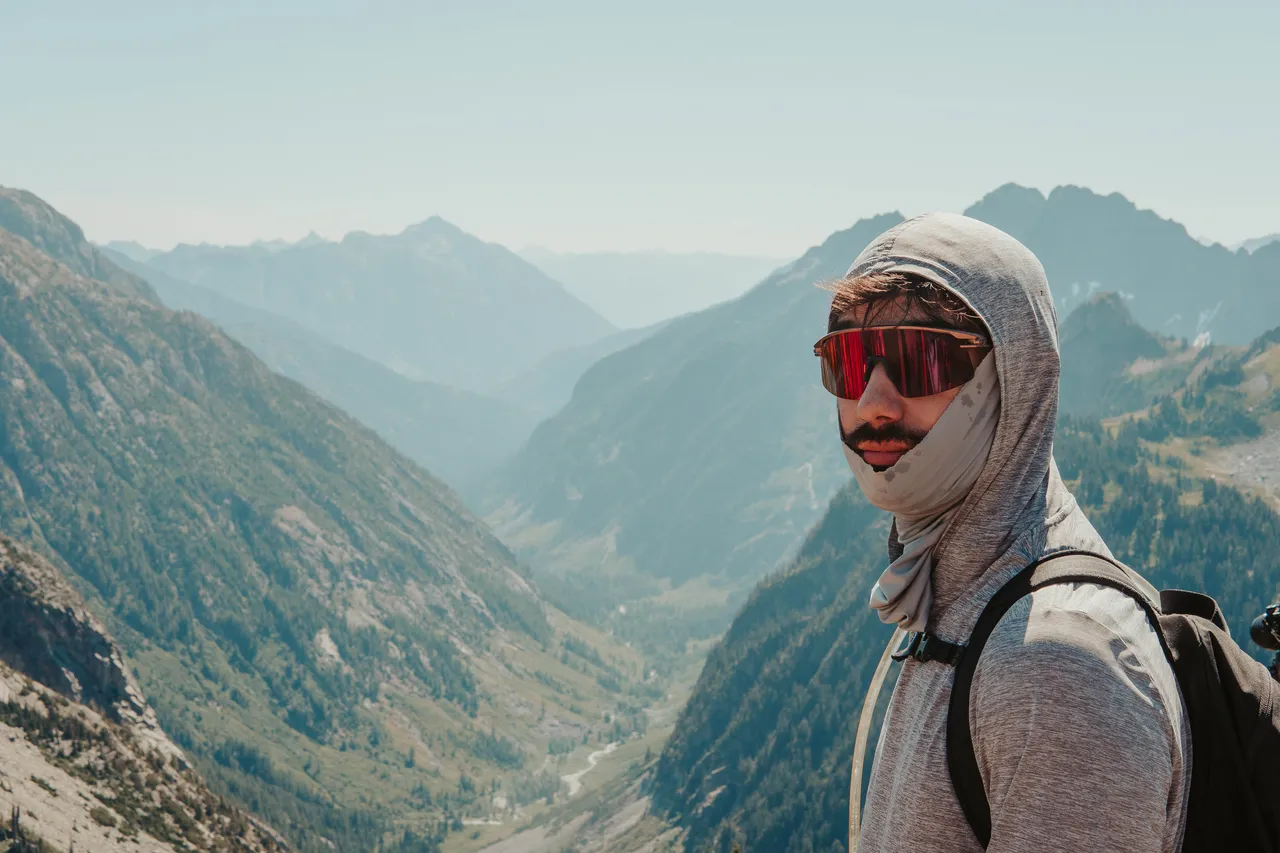
Hiding from the sun
The sun is intense on this hike, especially on a clear-sky day like we had. Even though temperatures were only in the 70s, the combination of direct sun, high elevation, and 4,000+ feet of climbing made it feel much hotter. We covered up with UPF sun shirts and UPF bucket hats — which are honestly essential for fully exposed hikes like this at higher elevations.
There are virtually no places to hide from the sun once you're past the first section. The good news is that a solid chunk of the elevation gain at the beginning is in the forest, so you're at least shaded while you grind out those early switchbacks. But once you break through the tree line onto the arm, there's zero tree coverage anywhere. And if you do spot a rare cluster of trees, odds are the mountain goats already claimed it as their shade spot.
We saw a lot of people with camping gear, and I was genuinely curious where they'd set up camp given how little shade there was. Definitely wear sunscreen and reapply every couple of hours while you're out in it.

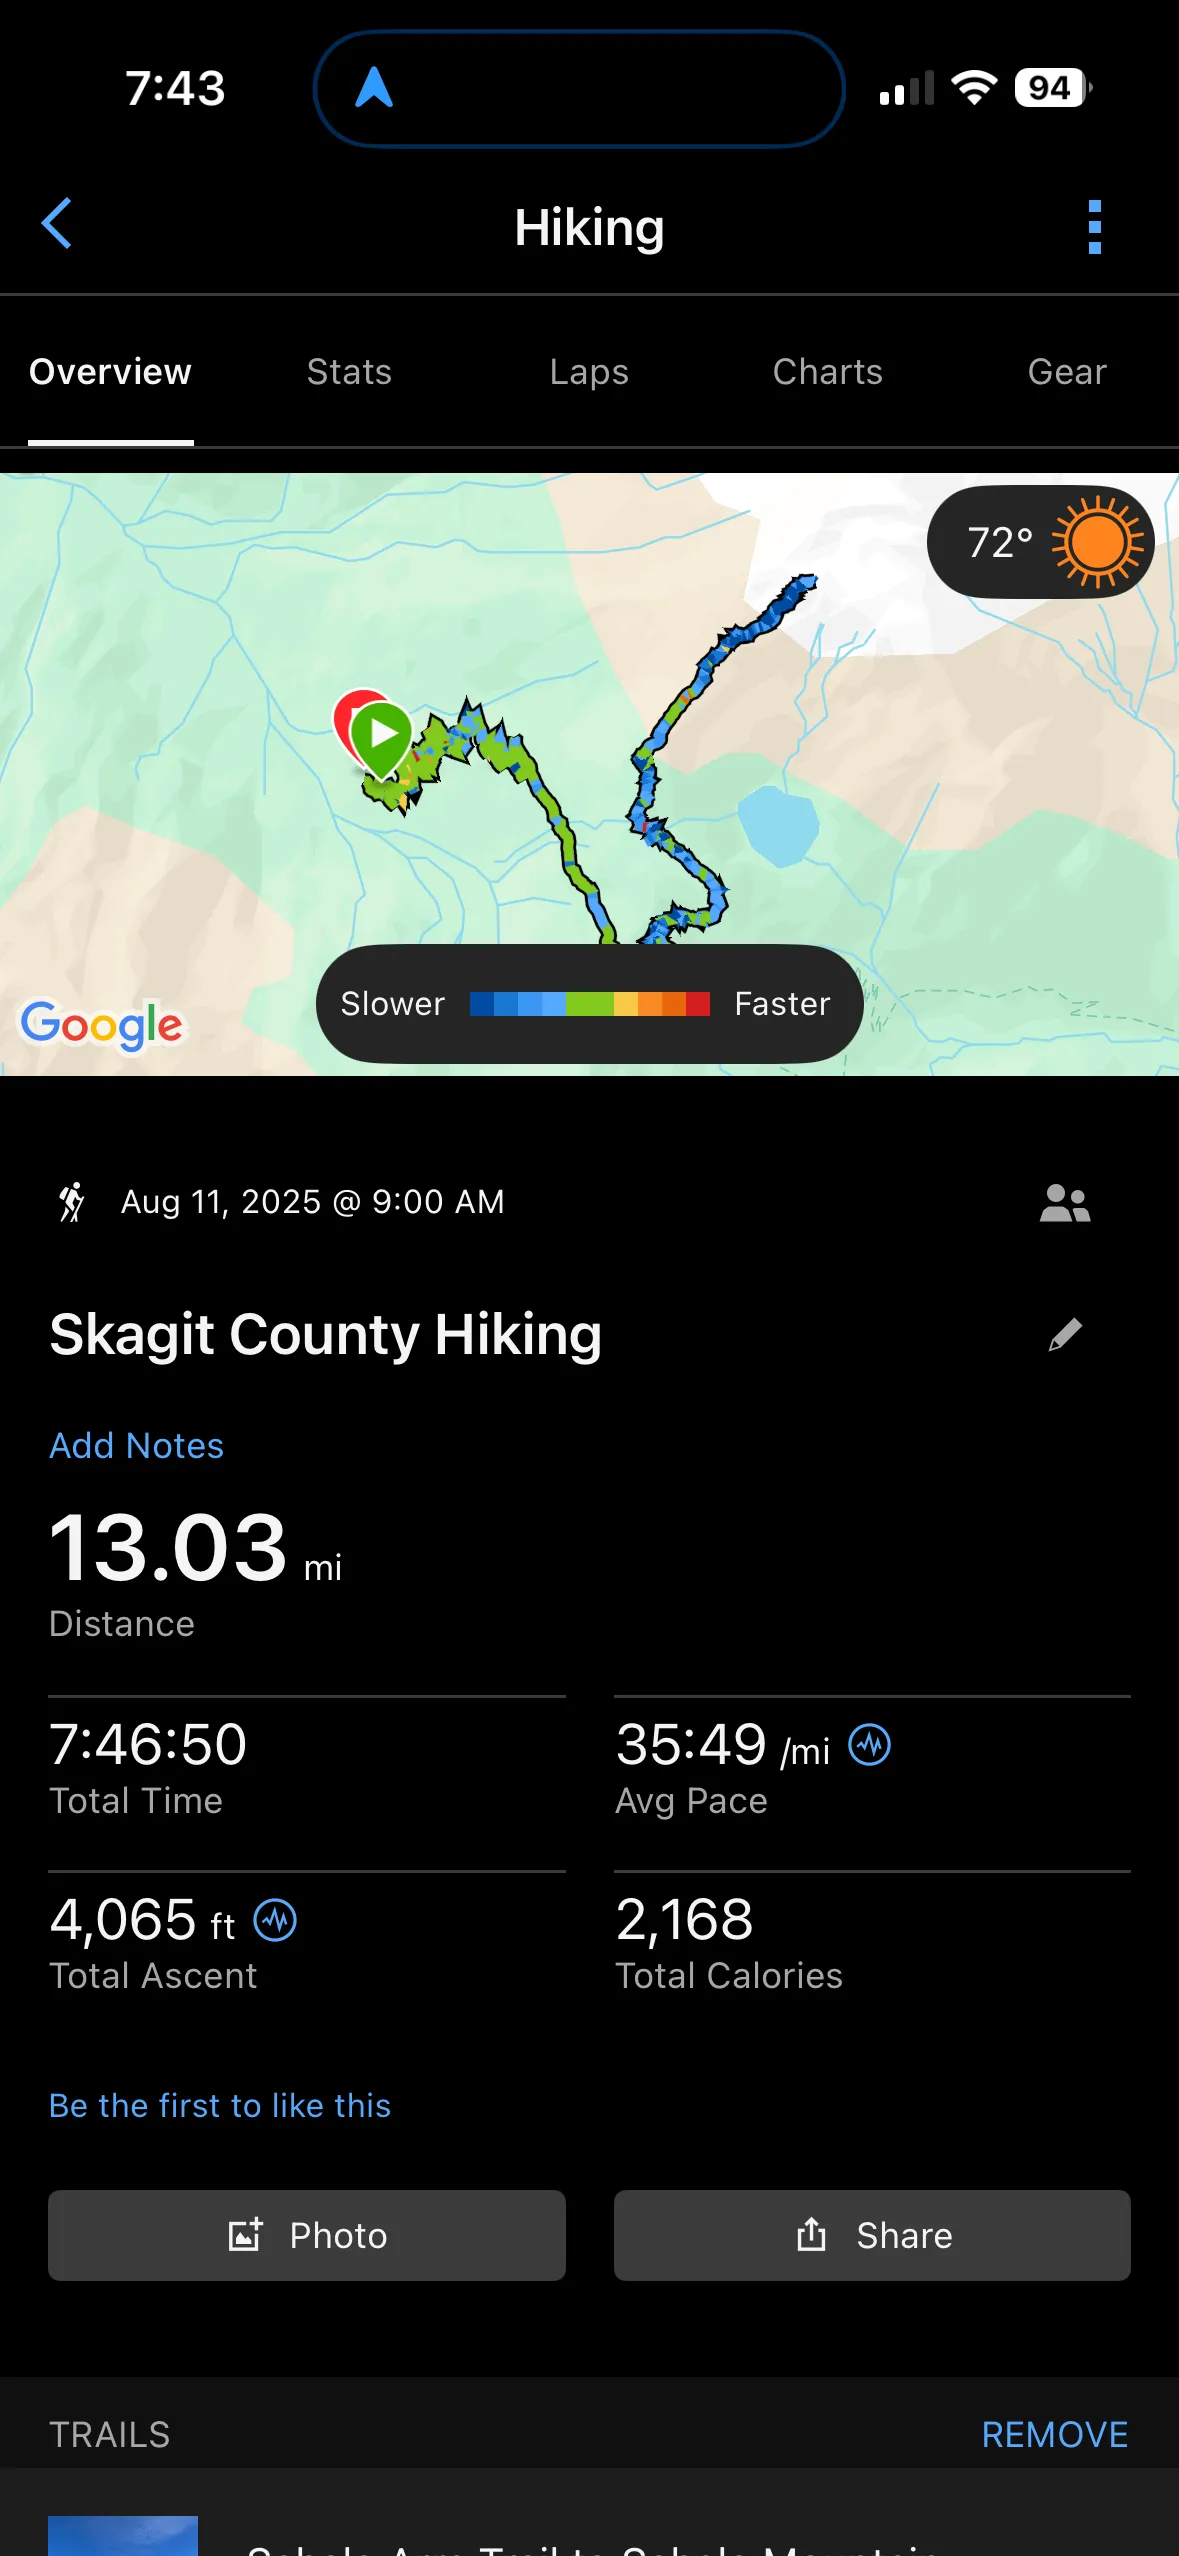
Here's the stats
We hiked Sahale Arm on August 11, 2025, starting at 9 AM. It was a gorgeous, clear day — 72°F and sunny, which is about as perfect as it gets for the North Cascades. The trail came out to just over 13 miles with about 4,065 feet of elevation gain. Total time on trail was just under 8 hours, which included plenty of time for photos and soaking in the views at the top. If you're coming from Seattle, plan for a very full day — we were gone close to 14 hours door to door.
Before you go
Here are some essentials for hiking and my favorite trail items.
Check out all my recommended hiking gear!
I use the Beauty of Joseon Relief Sun SPF 50+ — lightweight, no white cast, and perfect for long days on the trail. And for fully exposed hikes like this, a Solbari UPF50+ bucket hat is a must.
Comments
Leave a comment
Washington Hiking Guide
You'll find everything from classic day hikes near Seattle to longer drives for North Cascades, Olympic, and Mount Rainier adventures.